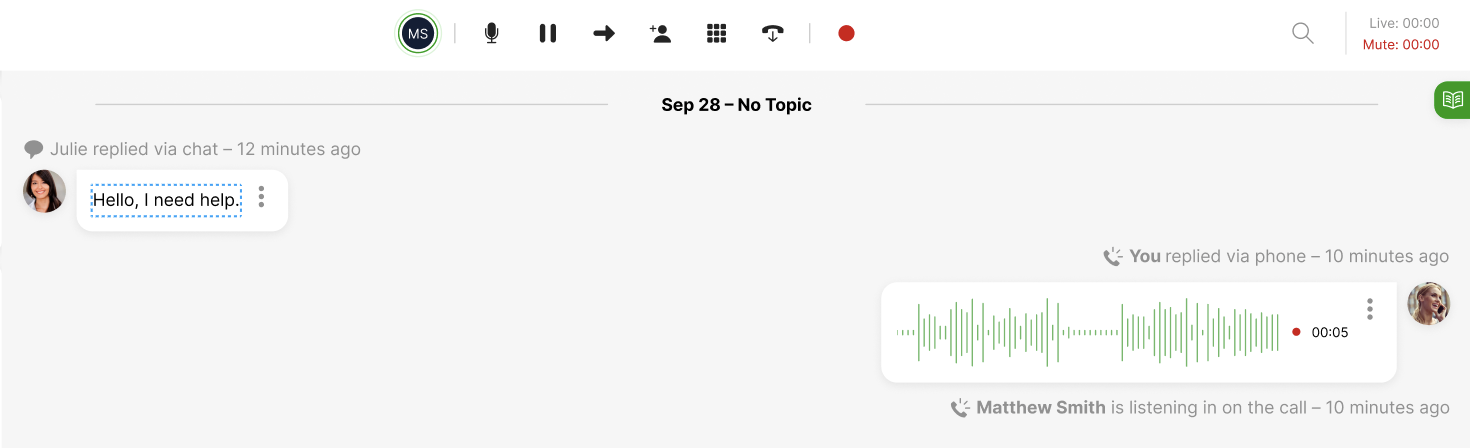
The Voice Control bar appears above the Customer Profile during a phone call.
Answer/accept a call #
- Click Accept from the notification banner to accept a call routed to you.

- Additional Voice controls to mute, transfer, conference, or end the call appear at the top of the screen.
- Call recordings immediately start in the Conversation Timeline and stop when the call ends.


Whenever you are on a live phone call with a Customer, you can place the Customer on hold or mute while you work on their request.
Automatically accept calls #
If activated, calls routed to you are automatically accepted after a few seconds, removing the need to click Accept. Click Auto-Accept from the banner to take the call immediately.

If Decline calls are also activated, you can click Decline on the banner to prevent the call from being auto-accepted.

Decline a call #
- If activated, click Decline from the notification banner to accept a call being routed to you.
When a call is declined or missed, it is rerouted to another Agent, and you’ll receive the next call waiting based on the Time before next call after declining (seconds) setting or when you click Next.
Place the Customer on hold #
- From the Voice Control Bar, click .
- will turn red, and the word On Hold appears with two running timers on the top right of your screen.


- Live – Current length time of the call.
- On Hold – How long the Customer has been on hold.
2. To unpause the call, click the red ![]() until it turns black.
until it turns black.
While on hold, the Customer will hear your hold music/recording.
Mute and unmute #
- From the Voice Control Bar, click .
- The will turn red to indicate that you are currently muted. Two running timers will appear at the top right of your screen.
- Live – Current length time of the call.
- Mute – How long you have been on mute.


The Customer hears silence when you’re on mute. To unmute yourself, click on the red microphone icon again to speak.