Use Tasks to remind yourself to do something for the Customer, assign a Task to a particular colleague, or collaborate on a Customer’s issue.
Before you start #
Before you create a Task, we recommend that you first review the following:
- Tasks assigned to you appear on your My Customer list.
- You are responsible for completing a Task assigned to you unless it gets reassigned to a different owner.
- You only receive Tasks from Inboxes you’re assigned to.
- For Tasks you created or Tasks assigned to other Inboxes that you’re not a member of, updates made by whoever owns the Task in the other Inbox appear on your Notifications Center. Activities for Tasks you own, like adding a new comment or being mentioned in a Task, also appear there.
Create a Task #
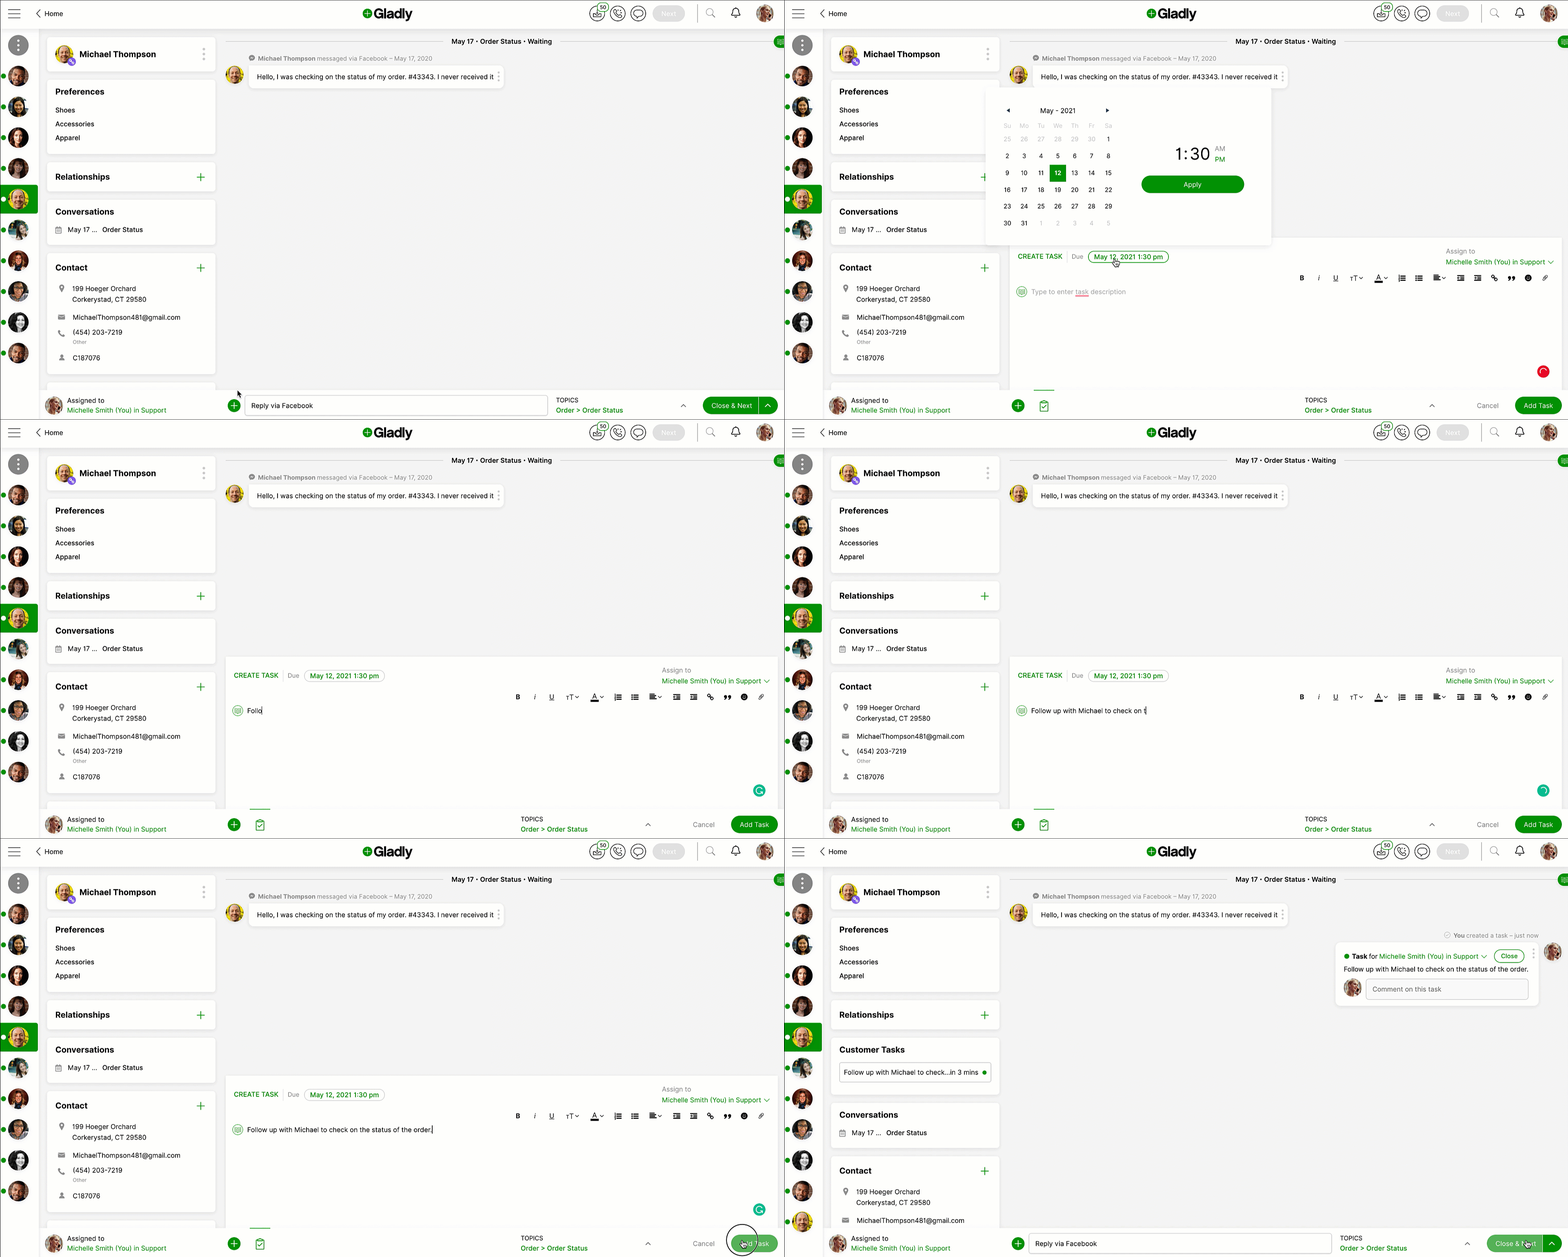
- Find the Profile of the Customer you want to create the Task, click
, then select Task.
- In the Task Composer, enter the Task details.
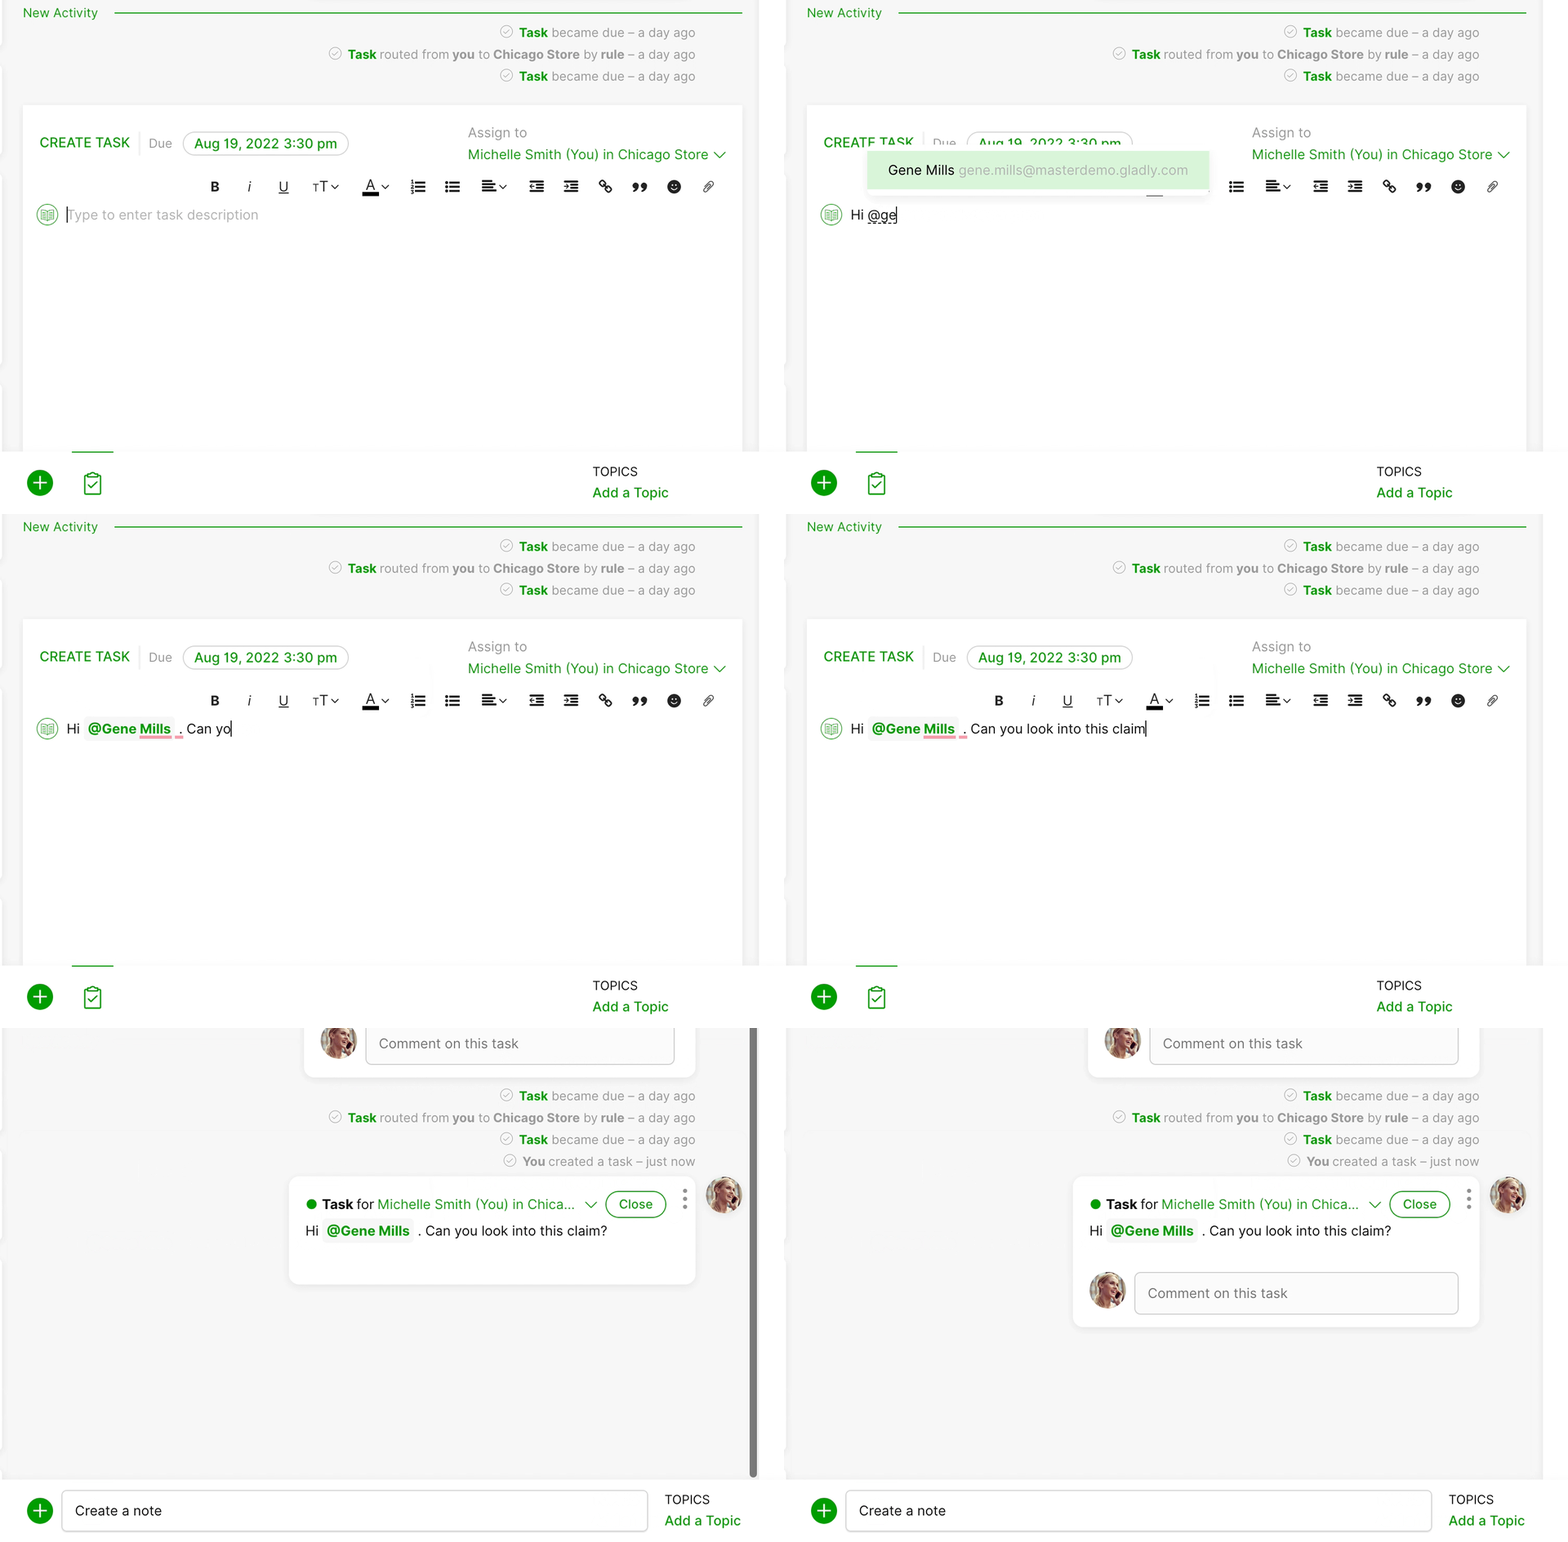
- Tip – Invite others to collaborate or notify them of the Task by typing @<name> and selecting the user’s name(s) on the list that appears so they are notified of your mention.

3. Set a due date and time for the Task by clicking on the default date and time on the top left of the Task Composer. This should be the date and time you expect the Task to be completed.
4. Click Assign to and select the Inbox or a specific Agent to assign the Task to. By default, the Task is assigned to you unless you change it.
5. Click Add Task at the bottom right of the Task Composer. The Task will appear in the Conversation Timeline.
- Tip – Colleagues and Task collaborators can use the Comment field to add notes about the Tasks.
Tasks assigned to you appear in the My Customers list (or that of your assignee) and start with “Task for <customer name>.”

The Task due date appears in red text five minutes before the due date and when it has passed.
Tasks that have not been closed or completed will continue to have a green dot.
Reassign a Task #
Change the Inbox or Agent the Task is currently assigned to. Remember that you can only assign Tasks to others if they belong to at least one Inbox.
- In the Conversation Timeline, click the name of the Agent or Inbox the Task is assigned.
- In the search bar, find the name of the Inbox or Agent you want to assign the Task and select their name.
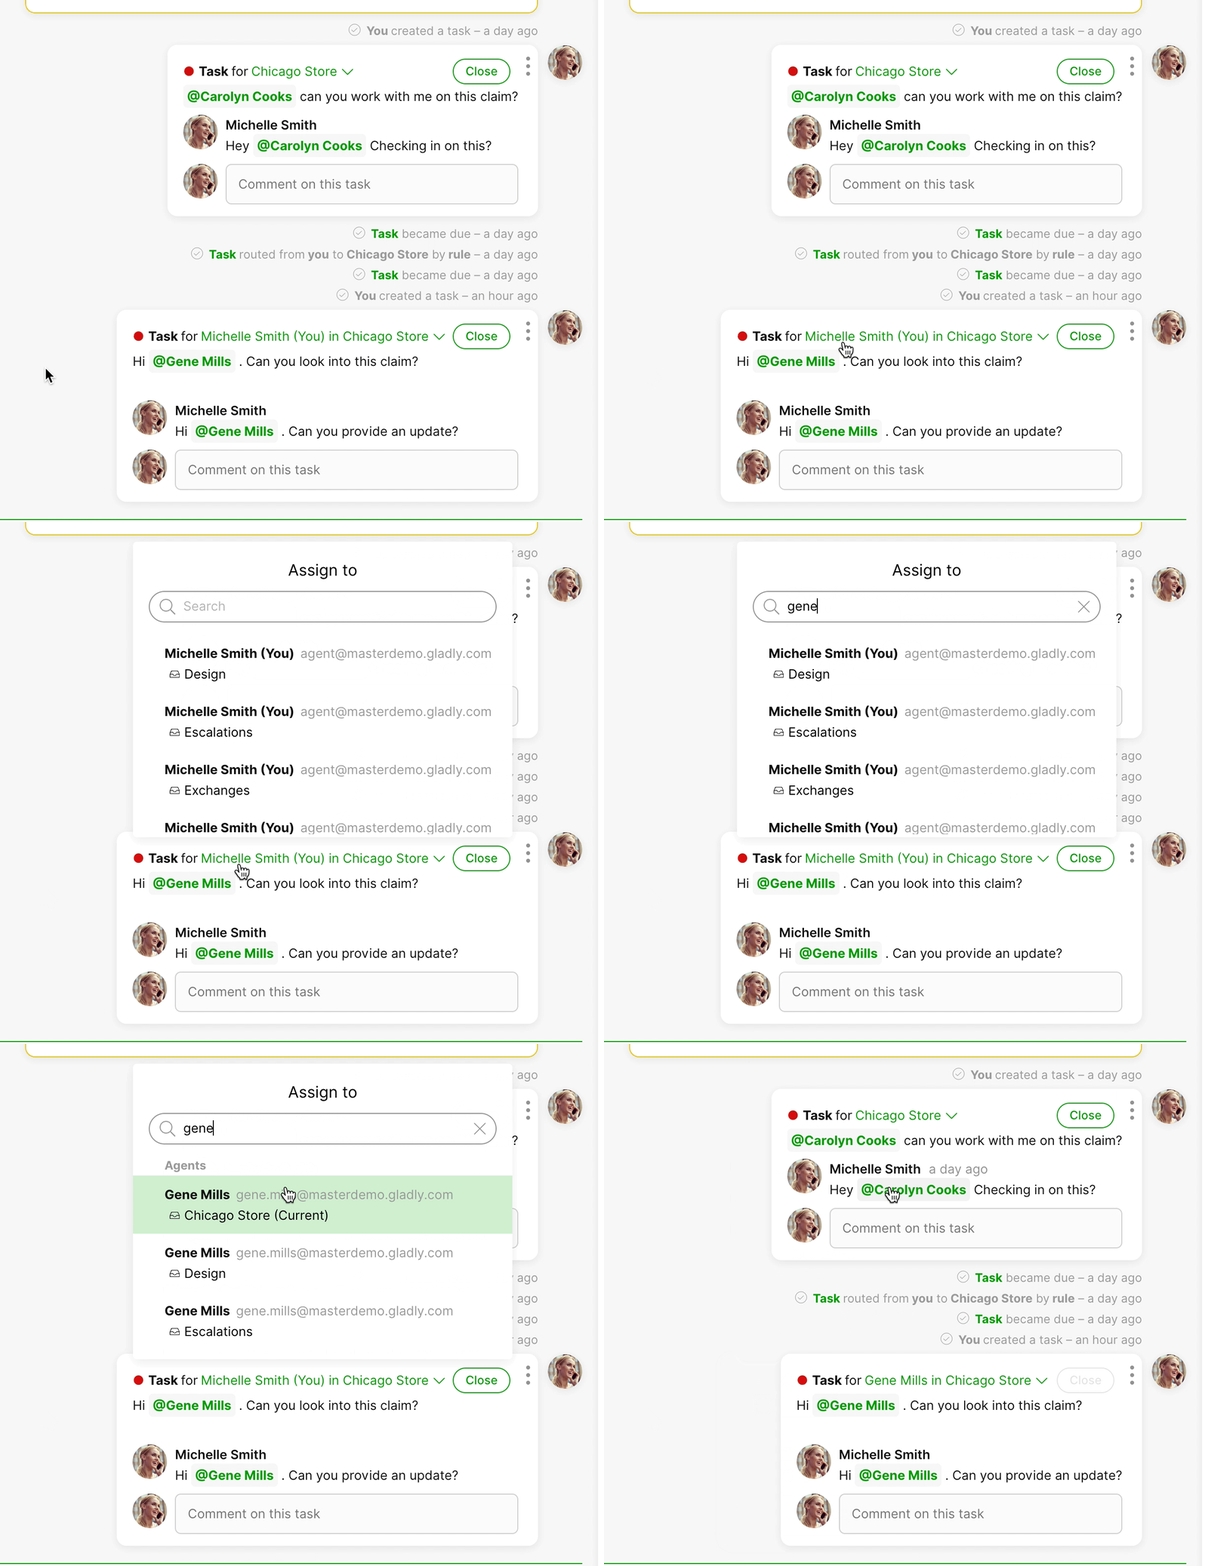
- Note – You cannot assign Tasks to deactivated/inactive Inboxes.
Tip – Assign a Task to an Inbox or Agent
- Inbox – If you assign the Task to an Inbox instead of specifying an assignee, the Task will route to an Agent who is Available in the Email, Task, Voicemail Channel in that Inbox. Agents must click Next to receive a Task waiting in the Inbox.
- Agent – The Task will appear in your My Customer list, and be notified of the Task through the Notifications Center.
View open Tasks for a Customer #
A list of open Tasks for a Customer is found in the Customer Tasks card in the Customer Profile.
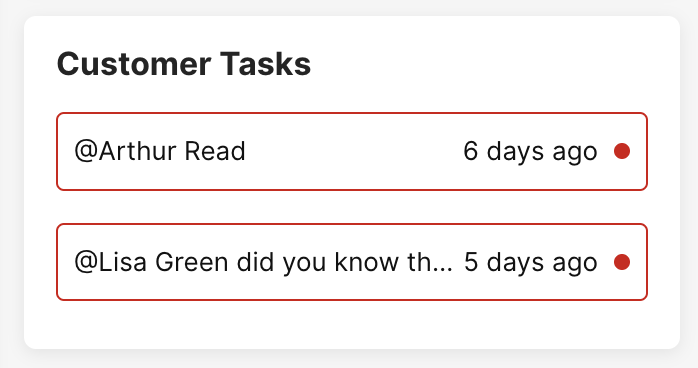
Click on the Task to find it on the Conversation Timeline, where you can collaborate with others.
- On the My Customer list, a Task’s due date appears in red — with a red dot — five minutes before the due date and when it has passed.
- On the Customer Tasks card, Tasks appear with a red box around it, along with a red dot five minutes before the due date and when it has passed.
Use Answers in a Task #
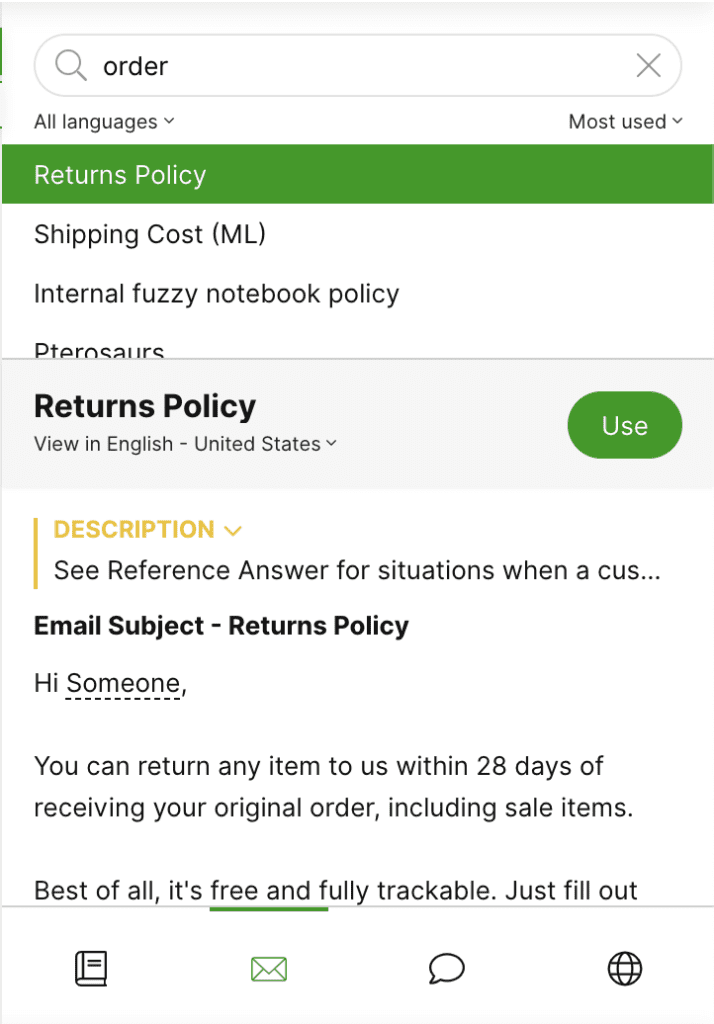
Access Answers directly from the Task and put them into the Task Composer. Just click the Answers Panel icon.

- From the Answers Panel, search for the Answer you want.
- Click Use to insert the Answer in your Task.
