| REQUIRED USER ROLE Administrator |
You can edit, restore, archive, and even duplicate an IVR. This gives full control over the IVR experience to make updates as your needs change.
Below is a couple of reasons to maintain an existing IVR:
- Edit – Update your existing IVR configuration and node settings. You can edit a Message node to change a recording played to Customers. You may also edit a Schedule node to edit your operating hours to ensure calls are routed to an Agent (if you’re open) or voicemail (if you’re closed).
- Restore – Restore to a previous version of the IVR. Let’s say you want to restore your IVR experience for New Year’s Day from last year; you can restore the IVR to that version instead of creating a new IVR.
- Archive – Archive inactive IVRs that are no longer being used.
- Duplicate – Create a copy of an existing IVR to make it easier to duplicate a similar IVR experience without building a new one from scratch.
Before you start #
- Keep note if you’re editing an Initial IVR or Queue IVR.
- An IVR is in a “published” state until a change is made. It will automatically create an “unpublished” version where you can continue to make other updates.
Find the IVR you want to edit #
- Click
on the top left corner of the screen.
- Click Settings.
- Under the Channels category, click IVR. The Active tab lists IVRs currently being used.
- Hover over the IVR you want to edit, then click
.
- To learn more about the IVR tree, see IVR Interface Overview.
Edit an IVR node #
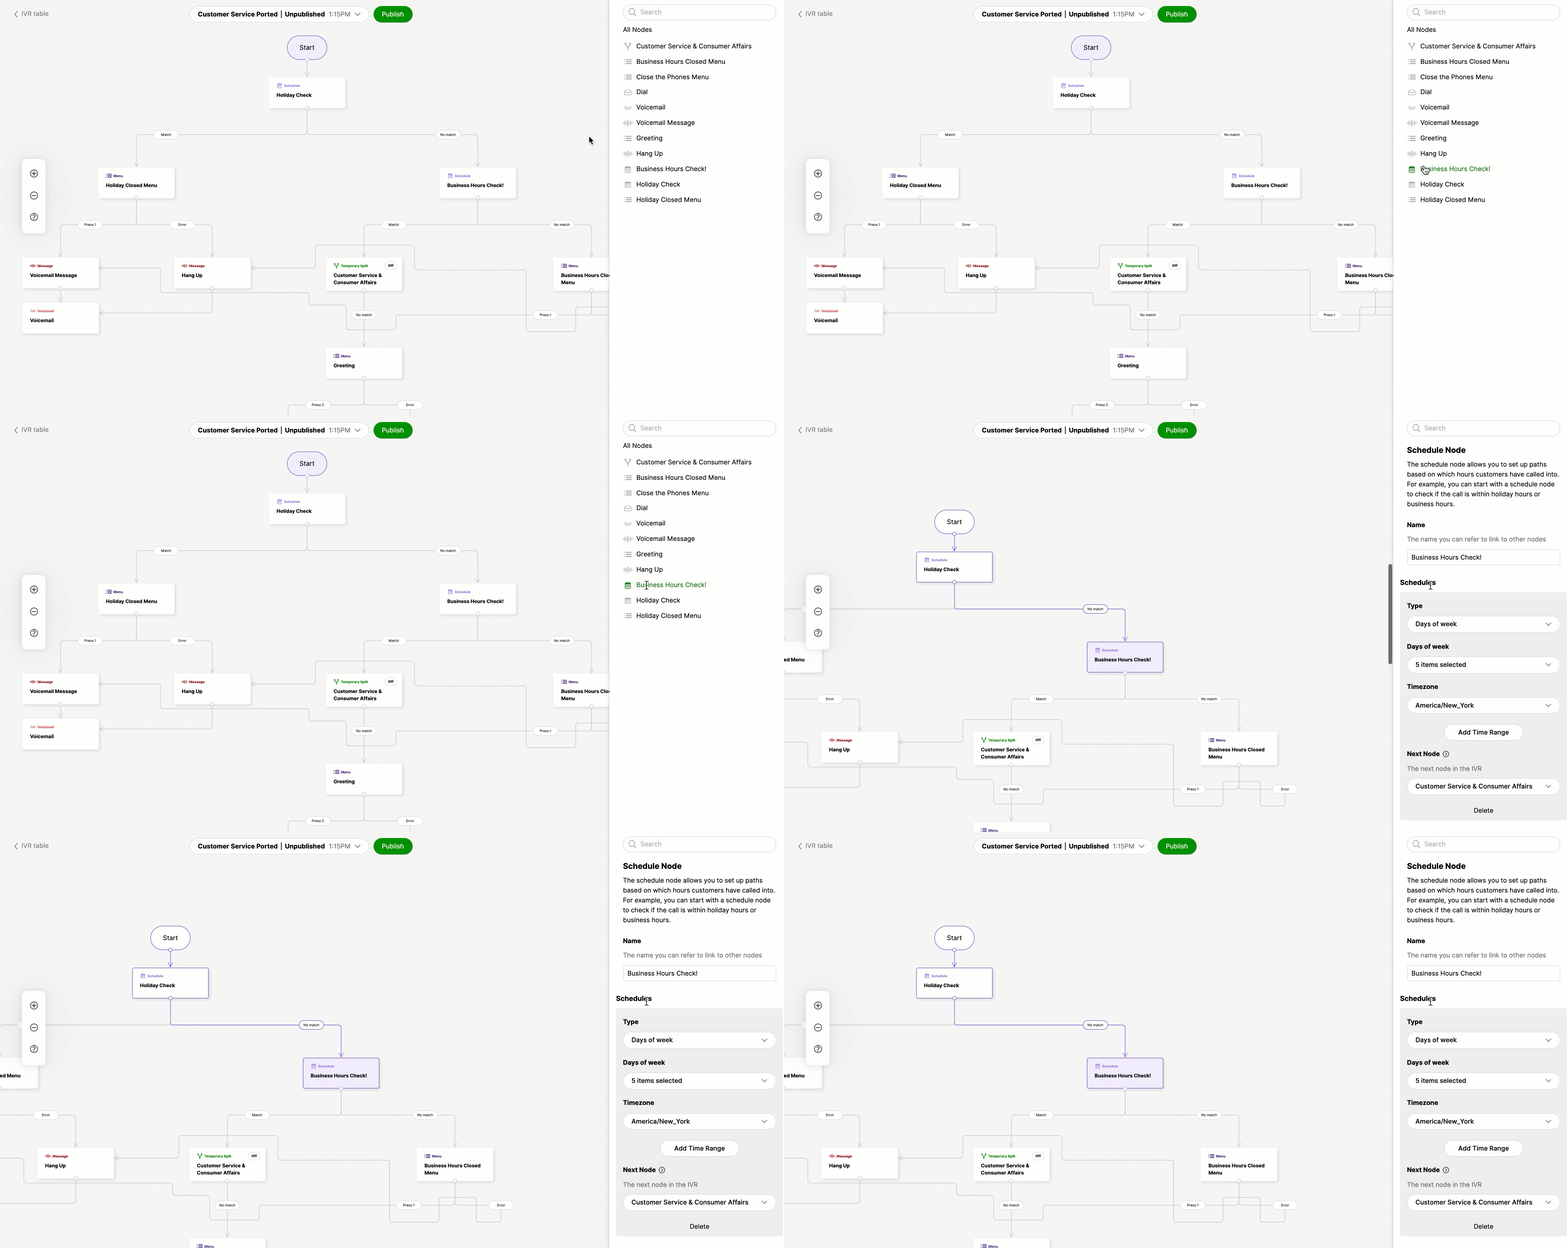
- From the IVR tree, click the node you want to edit. The node settings will appear on the right side of the screen.

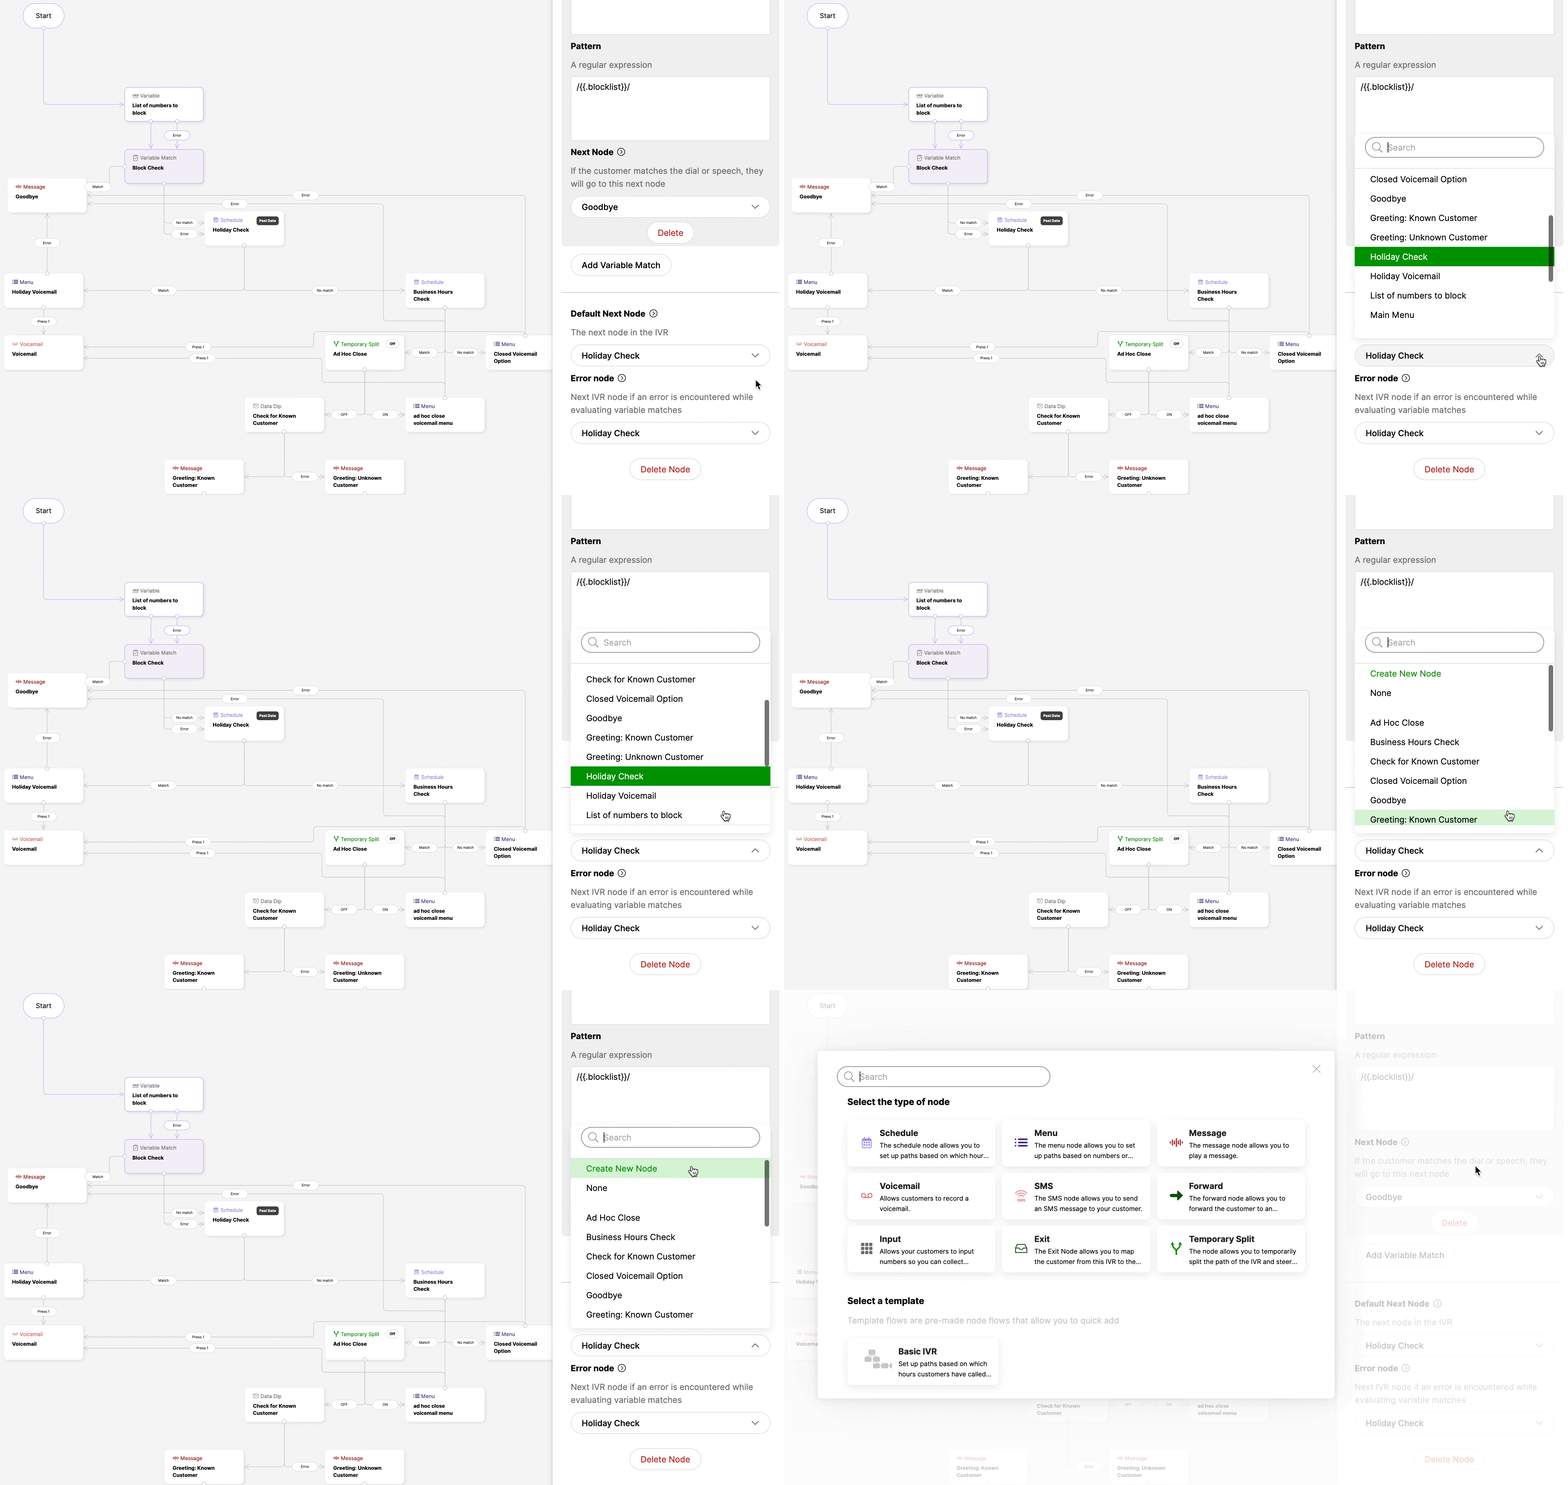
- To add a node, click the drop-down menu under the Default Next Node section, then click Create New Node. Click the next node you want to add from the node selection screen. It’s automatically added to the IVR tree and linked to the selected node.

- Some nodes include an Error Node option. If an error is encountered, this required node is the next node to which a call is moved.
- Once a change is made, a new “unpublished” state is immediately created.
- You have the option to test your changes before your updates are published.
Publish an updated IVR #
Any IVR changes automatically create an “unpublished” version (think of it as a new draft) of the IVR.
- Click Publish.

- The Publish button will remain unavailable if you are missing any required fields in the node. Required fields appear as a red error message.
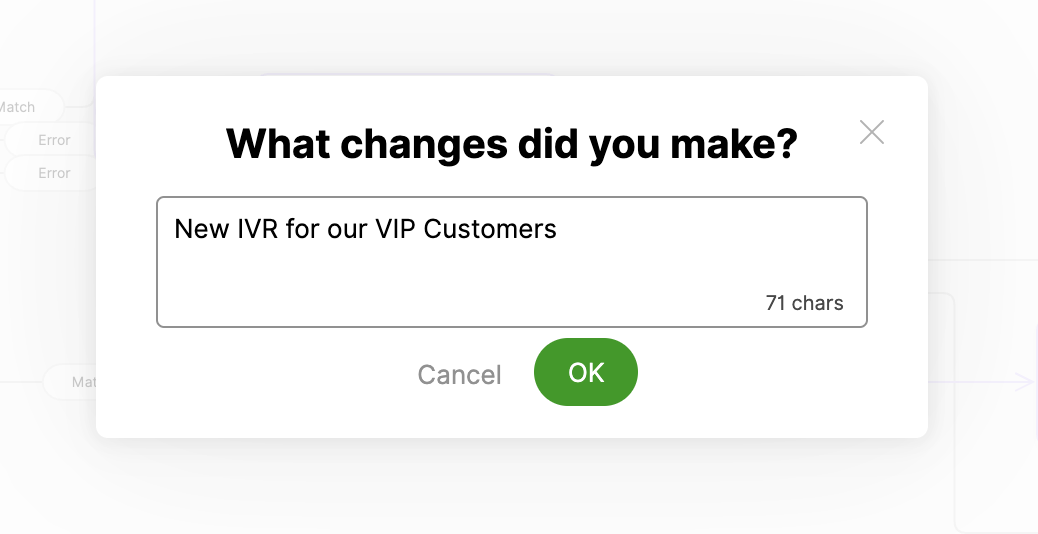
- Provide a short description of the changes that you made, then click OK.

- The description of your update is noted under the Published Change column. The person who last published an update to the IVR appears under the Published By column.

Duplicate an existing IVR #
Replicate an existing IVR, including all of its existing nodes, structure, and settings. You can duplicate an IVR if you’d like to replicate a similar IVR experience, which will help minimize the time needed to configure a new IVR.
- From the IVR page, hover over the IVR you want to duplicate, then click
.

- Enter a new name for the IVR.
- Click Duplicate.
- The new copy will be placed in the Inactive tab until a phone number is associated with the IVR.
Archive or Unarchive an IVR #
The Inactive tab contains recently created IVRs and IVRs not linked to a phone number. You can archive IVRs that are no longer being used and unarchive them at any time.
Archive #
- From the IVR screen, click the Inactive tab.
- Hover over the IVR you want to archive, then click

- Confirm your request and click Archive IVR in the prompt.
Unarchive #
- From the IVR screen, click the Archived tab.
- Hover over the IVR you want to unarchive, then click
.
- Confirm your request and click Unarchive in the prompt.
The unarchived IVR will be moved to the Inactive tab. IVRs must be linked to a phone number to be considered active.
Restore to a previous configuration #
Restore an IVR to a previous configuration. All previous configurations, including recordings, nodes, etc., are restored.
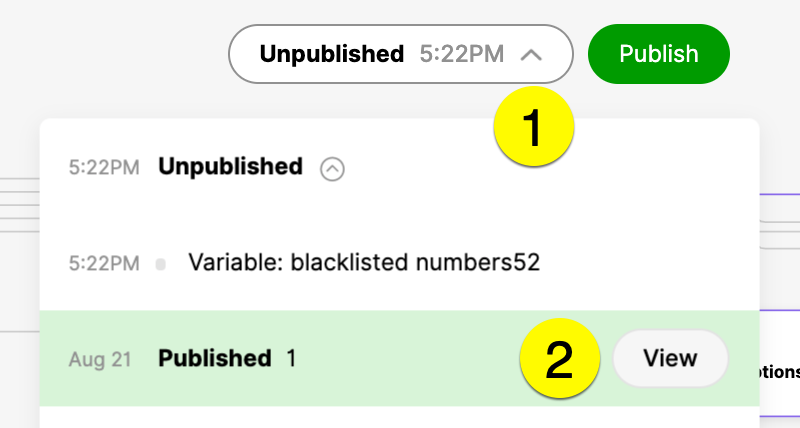
- Click the Unpublished drop-down menu, hover over the previously saved version, then click View.

- At the top of the IVR, click Restore.


