Let’s get you ready to start helping your Customers and start a lifelong conversation and partnership with them. But before you do, ensure your Gladly user profile is current.
Set up your profile #
The profile contains basic information about you as a Gladly user.
To set up your profile:
- Click My Profile (with your initials) located on the top right of the screen.
- From the dropdown list, click Profile.
Confirm your name #
Your profile should already have the correct name. But just in case there’s been a mistake or you’ve changed your name, you can change it from your profile. This name can appear in external communications, especially when using Answers.
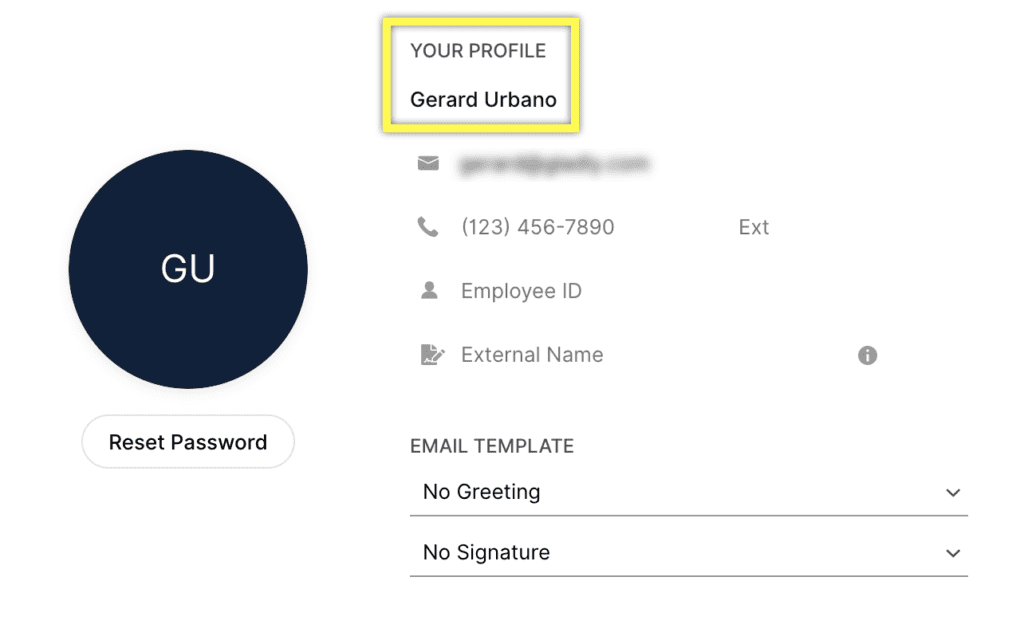
- Highlight and delete the existing name in the Profile and replace it with your new/correct name.
- Click anywhere outside of the field to save it.
Change your email address (Administrator only) #
Email addresses are automatically added. Contact your Gladly Administrator to correct the email address if this information is incorrect.
Update your employee ID #
If you have an Employee ID, you can enter that into the Employee ID field of your profile. Otherwise, you can leave this blank.
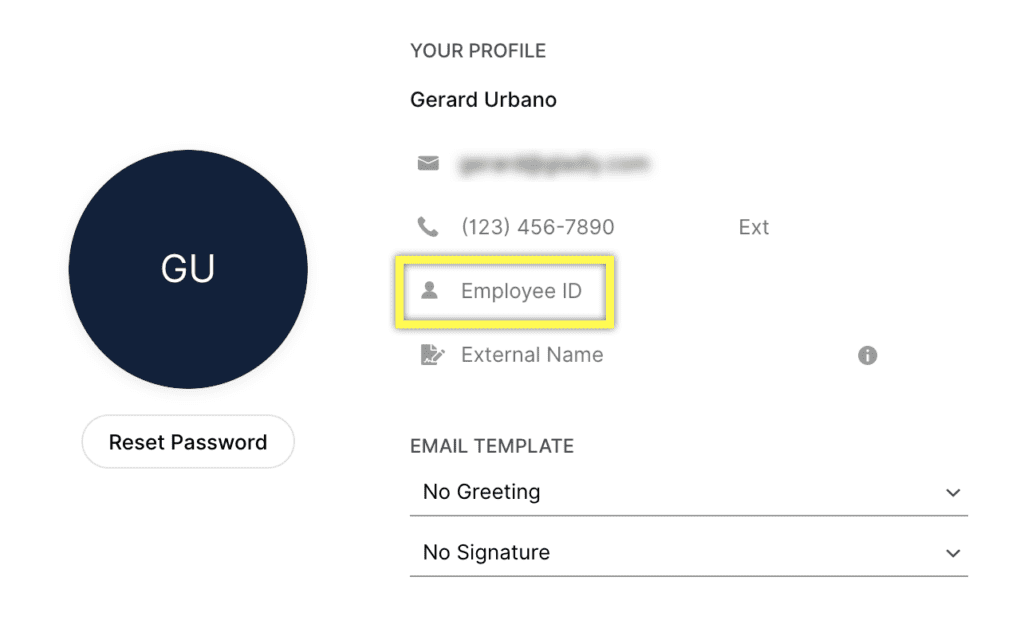
- Click into the Employee ID field and type in your Employee ID.
- Click anywhere outside of the Employee ID field to save it.
Update your external name #
Enter a name you’d like to display to Customers for external communications if you prefer not to show your full name. This only applies in Answers using the Agent’s Name and Agent’s First Name variable. For example, if the External Name field says “Gerard U,” instead of showing “Gerard Urbano” for Answers using Agent’s Name variable, it will show as “Gerard U” instead. In an Email Answer, if it says “Warm Regards, Agent’s Name,” the Customer will see “Warm regards, Gerard U.”
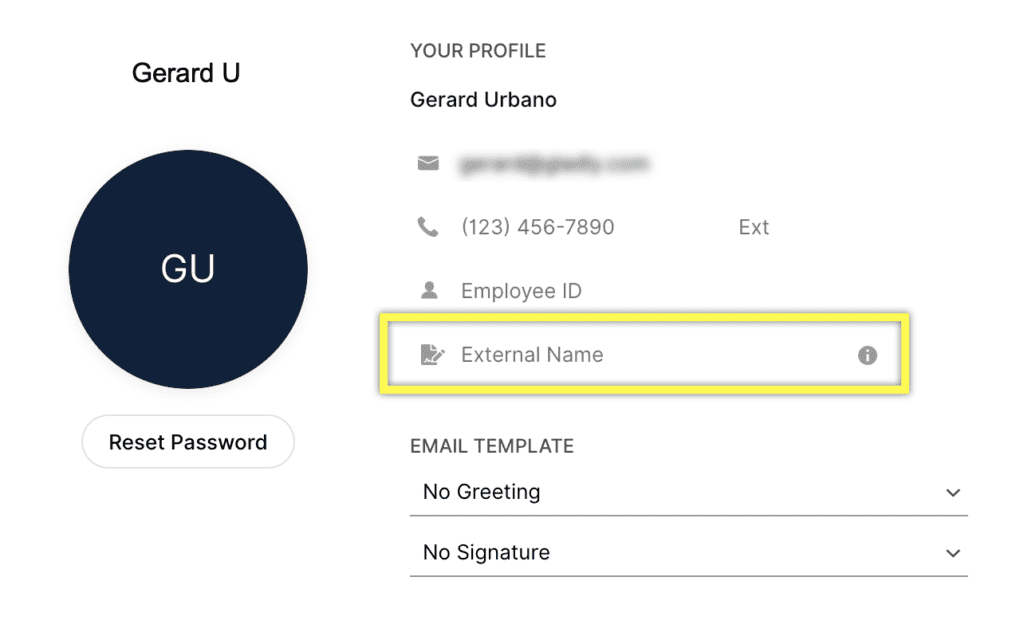
- The External Name field is only available if an Administrator has activated the External Name setting.
- Reach out to a Team Manager or Administrator for additional direction about this field as it depends on how Answer variables are used by your team.
- External Name setting must be active on the Users page to use external names in Answers and outbound emails.
Change your email greeting #
Select the default email greeting for your initial response to email requests. We suggest contacting your Team Manager to determine the Answer you should use.
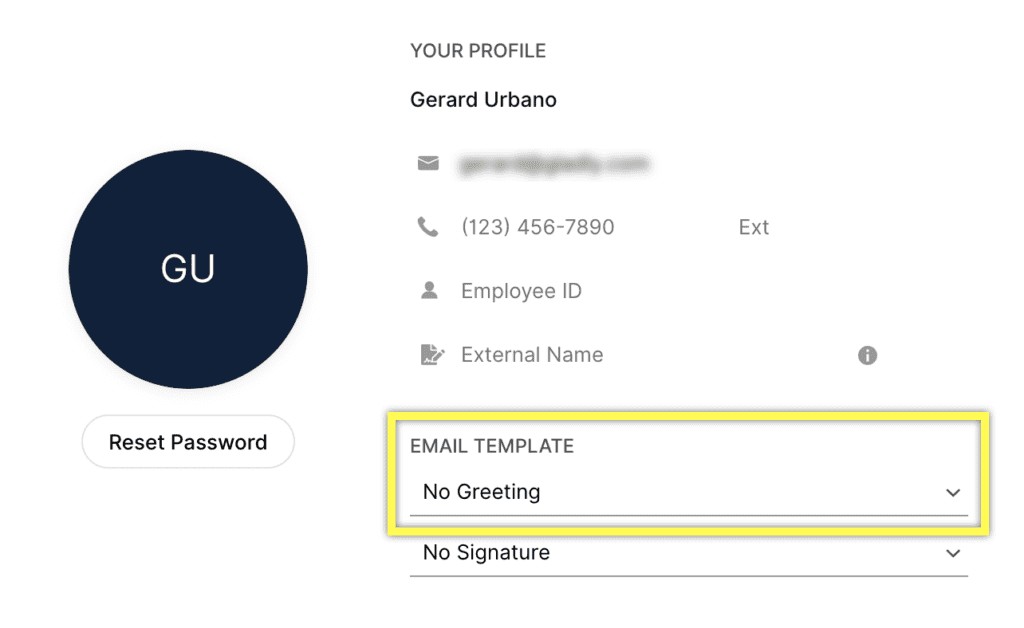
- Click into the Email Greeting field.
- Type in the name of the greeting template you want to use. (Hint: typing the word ‘greeting’ might be a good start)
- Select the greeting you want from the dropdown list.
Change your email signature #
As with your email greetings, you can also select a standard signature to close out your emails.
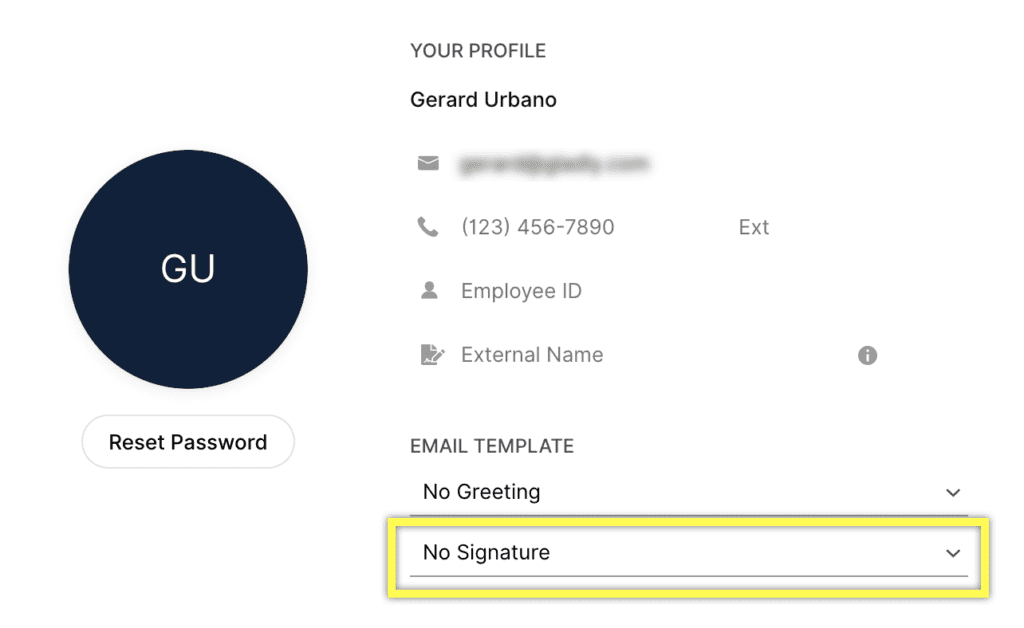
- Click into the Email Signature field.
- Type in the name of the signature template you want to use. (Hint: typing the word ‘signature’ might be a good start)
- Work with your Team Manager or Answers Administrators if you want a logo/image as part of your email signature.
- Select the signature you want from the dropdown list.


