Gladly allows for some formatting when creating your Answers, so you have control over how your Answers look to your Agents and Customers.
For a complete breakdown of the Answers editor capabilities for each Answer type, please see Composer Overview.

Formatting options for Answers #
Reference and Email Answers support the following rich text formatting:
- Bolding, italicizing, and underlining of text
- Text color
- Changing the size of text
- Emojis
- Adding numbered lists
- Adding bullet points
- Text alignment
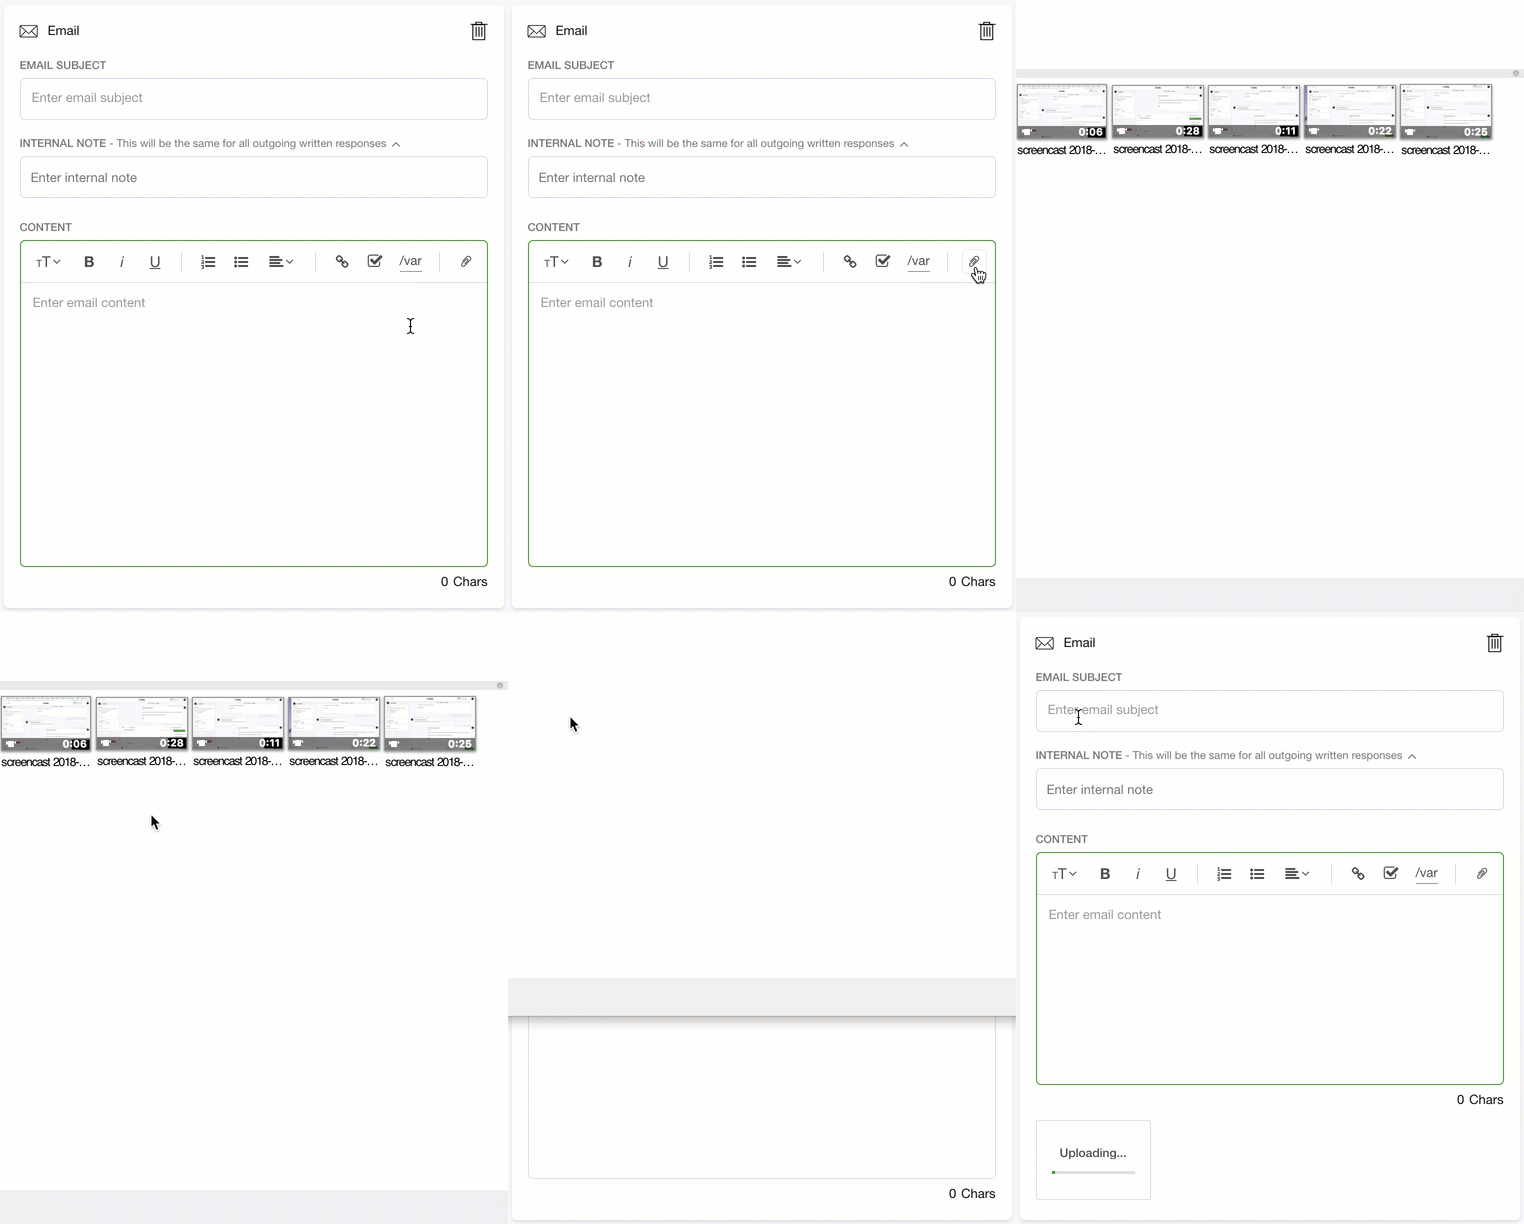
Include attachment #
 #
#
- Click
.
- You’ll be prompted to select a file from your existing folders. Double-click the file you want to add to your Answer. You can add as many attachments as you need, but a single attachment cannot exceed 10 MB for an email, and the overall email shouldn’t exceed 25 MB.
- Once you’re done with your Answer, click Create.
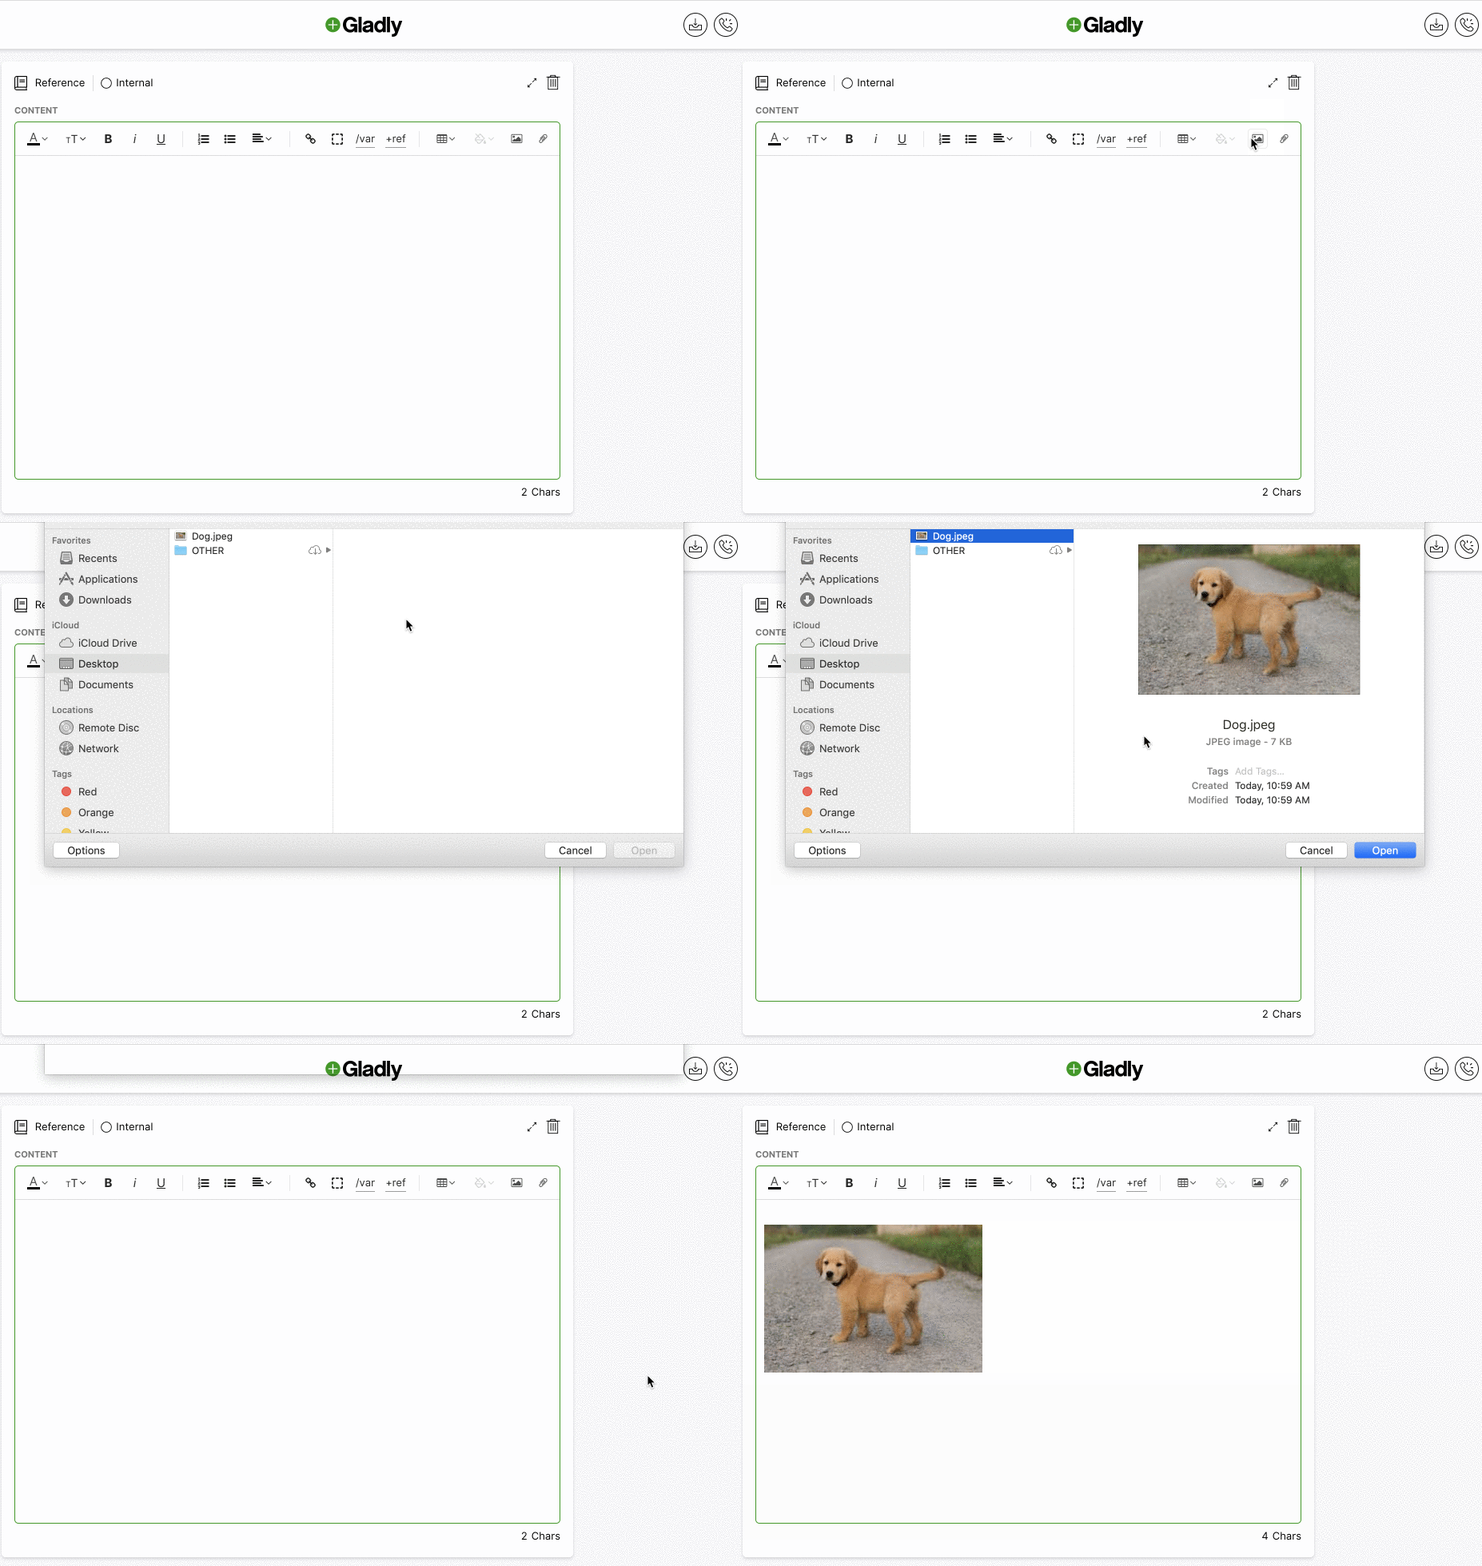
Insert inline images  #
#
The Image feature is for Reference, Email, and Public Answers.
- Click
.
- You’ll be prompted to select a file from your existing folders. Double-click the file you want to add to your Answer to insert the image.
- Once you’re done with your Answer, click Create.
Note that images can’t be hyperlinked. We suggest adding text near the image and converting it as a hyperlink.
Supported file types #
Answers support common image file types like jpeg, png, and BMP.
Image size limits #
- Public Answer – 5MB per image.
- Reference Answer – Up to 10 images per Answer.
- Email – Limited by the maximum email body size, which is 25 MB
Max number of images #
- Public Answer – Up to 10 images per Answer.
- Reference Answer – Up to 10 images per Answer.
- Email – Limited by the maximum email body size, which is 25 MB
Image dimensions #
Answers inherit the image’s file size, so upload images with your preferred dimensions. We suggest testing to determine the best image size for an Answer.
- As a general guideline, logos could be around 50px. Larger images could be 100px or larger.
- For image banners used in signatures, we suggest staying between 300x50px and 500x83px to maintain the best aspect ratio across various email providers.
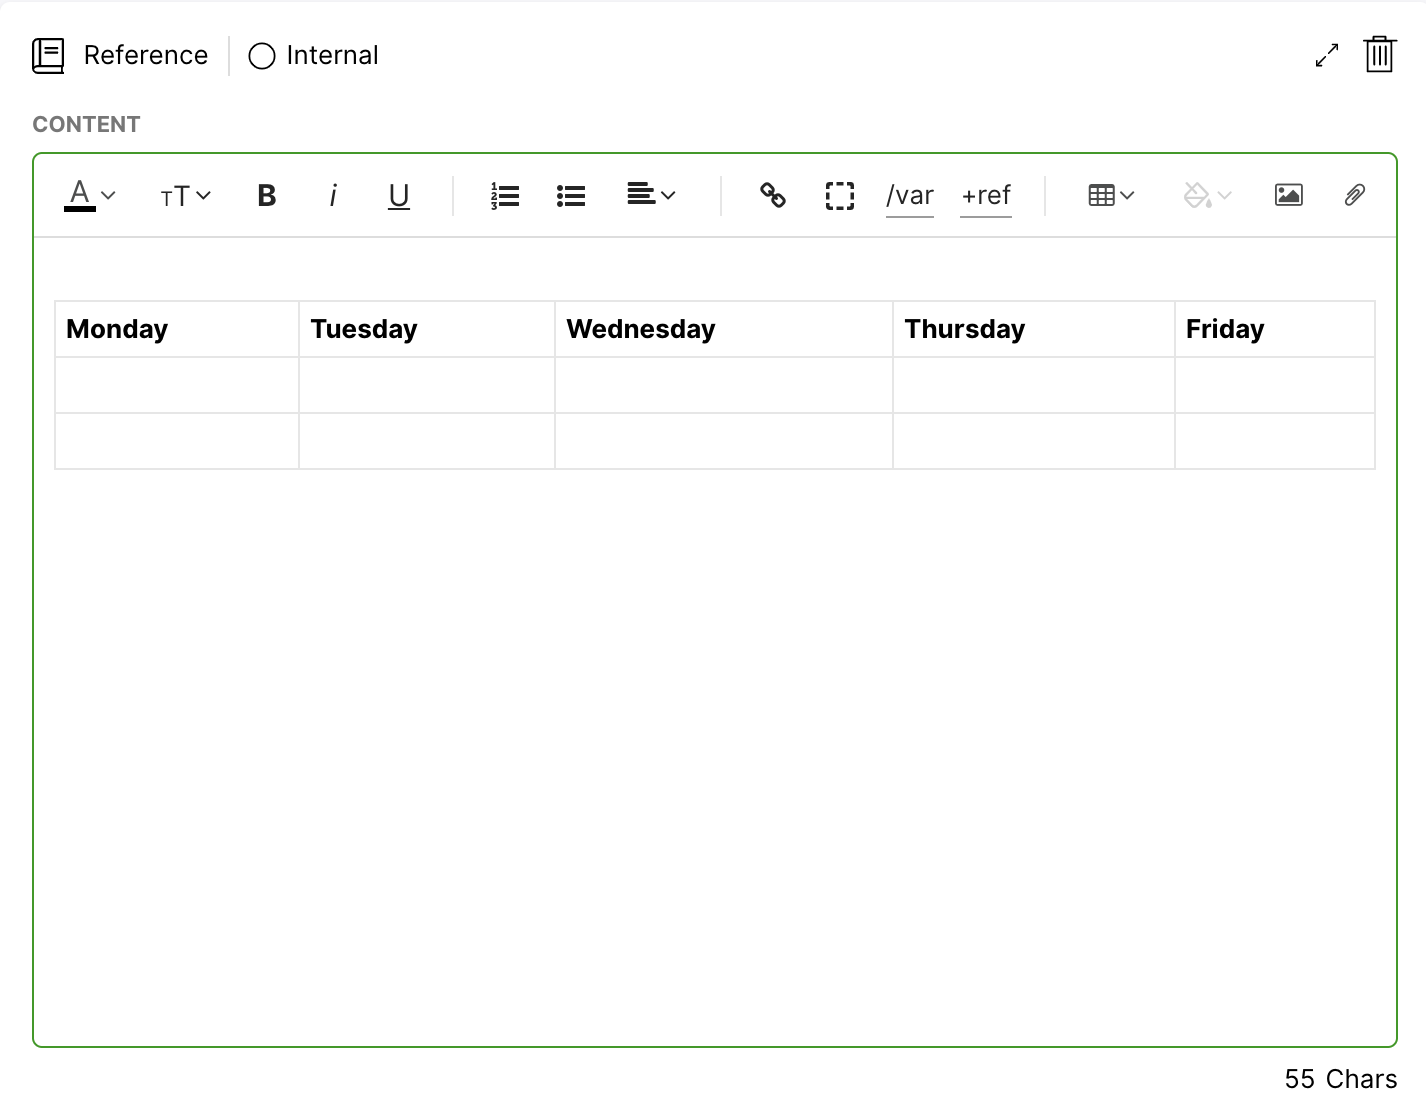
Insert a table  #
#
The Table feature is for Reference Answers only.
- Click
.
- Select the number of columns and rows you want for your table from the dropdown menu. The cells will turn green when selected. When you’re happy with the size of your table, click on the cell.
- A window will pop up with the table, ready for you to start entering your values. To add them, click on the cell you want to edit and start typing. Click Edit on the top right of the window to add or delete rows and columns.
- Click Save.
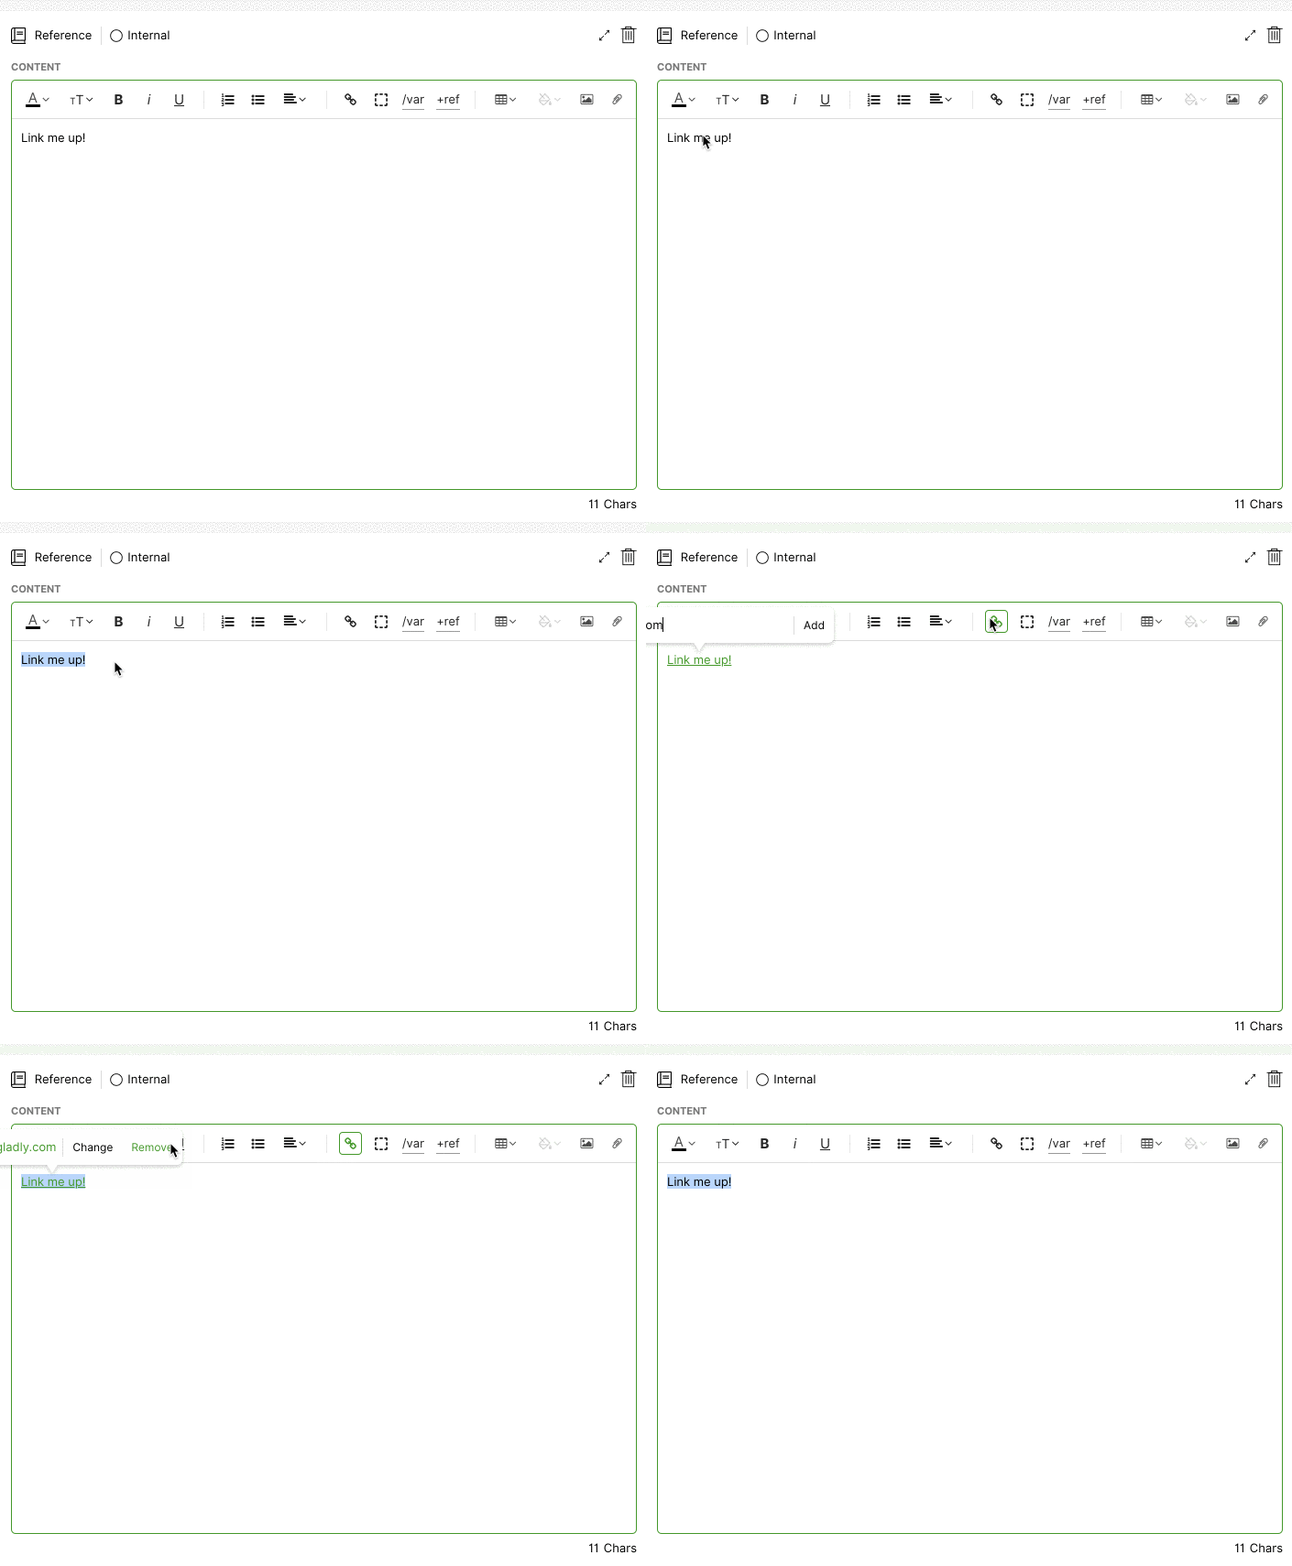
Insert hyperlinks  #
#
Hyperlinks are in Email, Reference, and Public Answers. While you can’t hyperlink text in your Message Answers or images in Public Answers, you can add the actual URL into your messages, and Customers can still click on them and be taken to the link.
- In the content box, type out the text you want to hyperlink.
- Highlight the text, then
at the top of the content box. Type the link address into the pop-up that appears, then click Add (located to the right of the pop-up.).


