| REQUIRED USER ROLE Analyst |
Analysts can edit a report for many reasons. This could be changing the metrics used in the report, updating formulas, changing filters, changing visualizations, or simply moving it to a different dashboard.
View Shared or Personal dashboard #
Shared #
Reports saved in a Group dashboard also appear in the Shared category on the Reports page. This is how non-analyst users who access Reports view shared Insight Builder reports.
Personal #
Reports saved in a personal dashboard are only accessible and editable by the analyst who created the report. See edit personal dashboard to learn how to access and edit personal reports.
Edit report from a shared dashboard #
- From the Reports page, click Create a Report and pick any dataset.
- To the right of the Builder, click the folder icon.
- Click the shared icon (two users icon) and click the dashboard where the report is saved.

- On the top right corner of the screen, clicknext to the folder icon, then click Edit Dashboard. This opens edit mode for all reports (tiles) in the dashboard.
- From the report you want to edit, hover over the report (tile) and click then click Edit. This opens the Builder experience for the report where you can make changes.
- When you’re done making changes, click Run to run the report.
- Click Save when you’re done.
Edit report from a personal dashboard #
- From the Reports page, click Create a Report and pick any dataset.
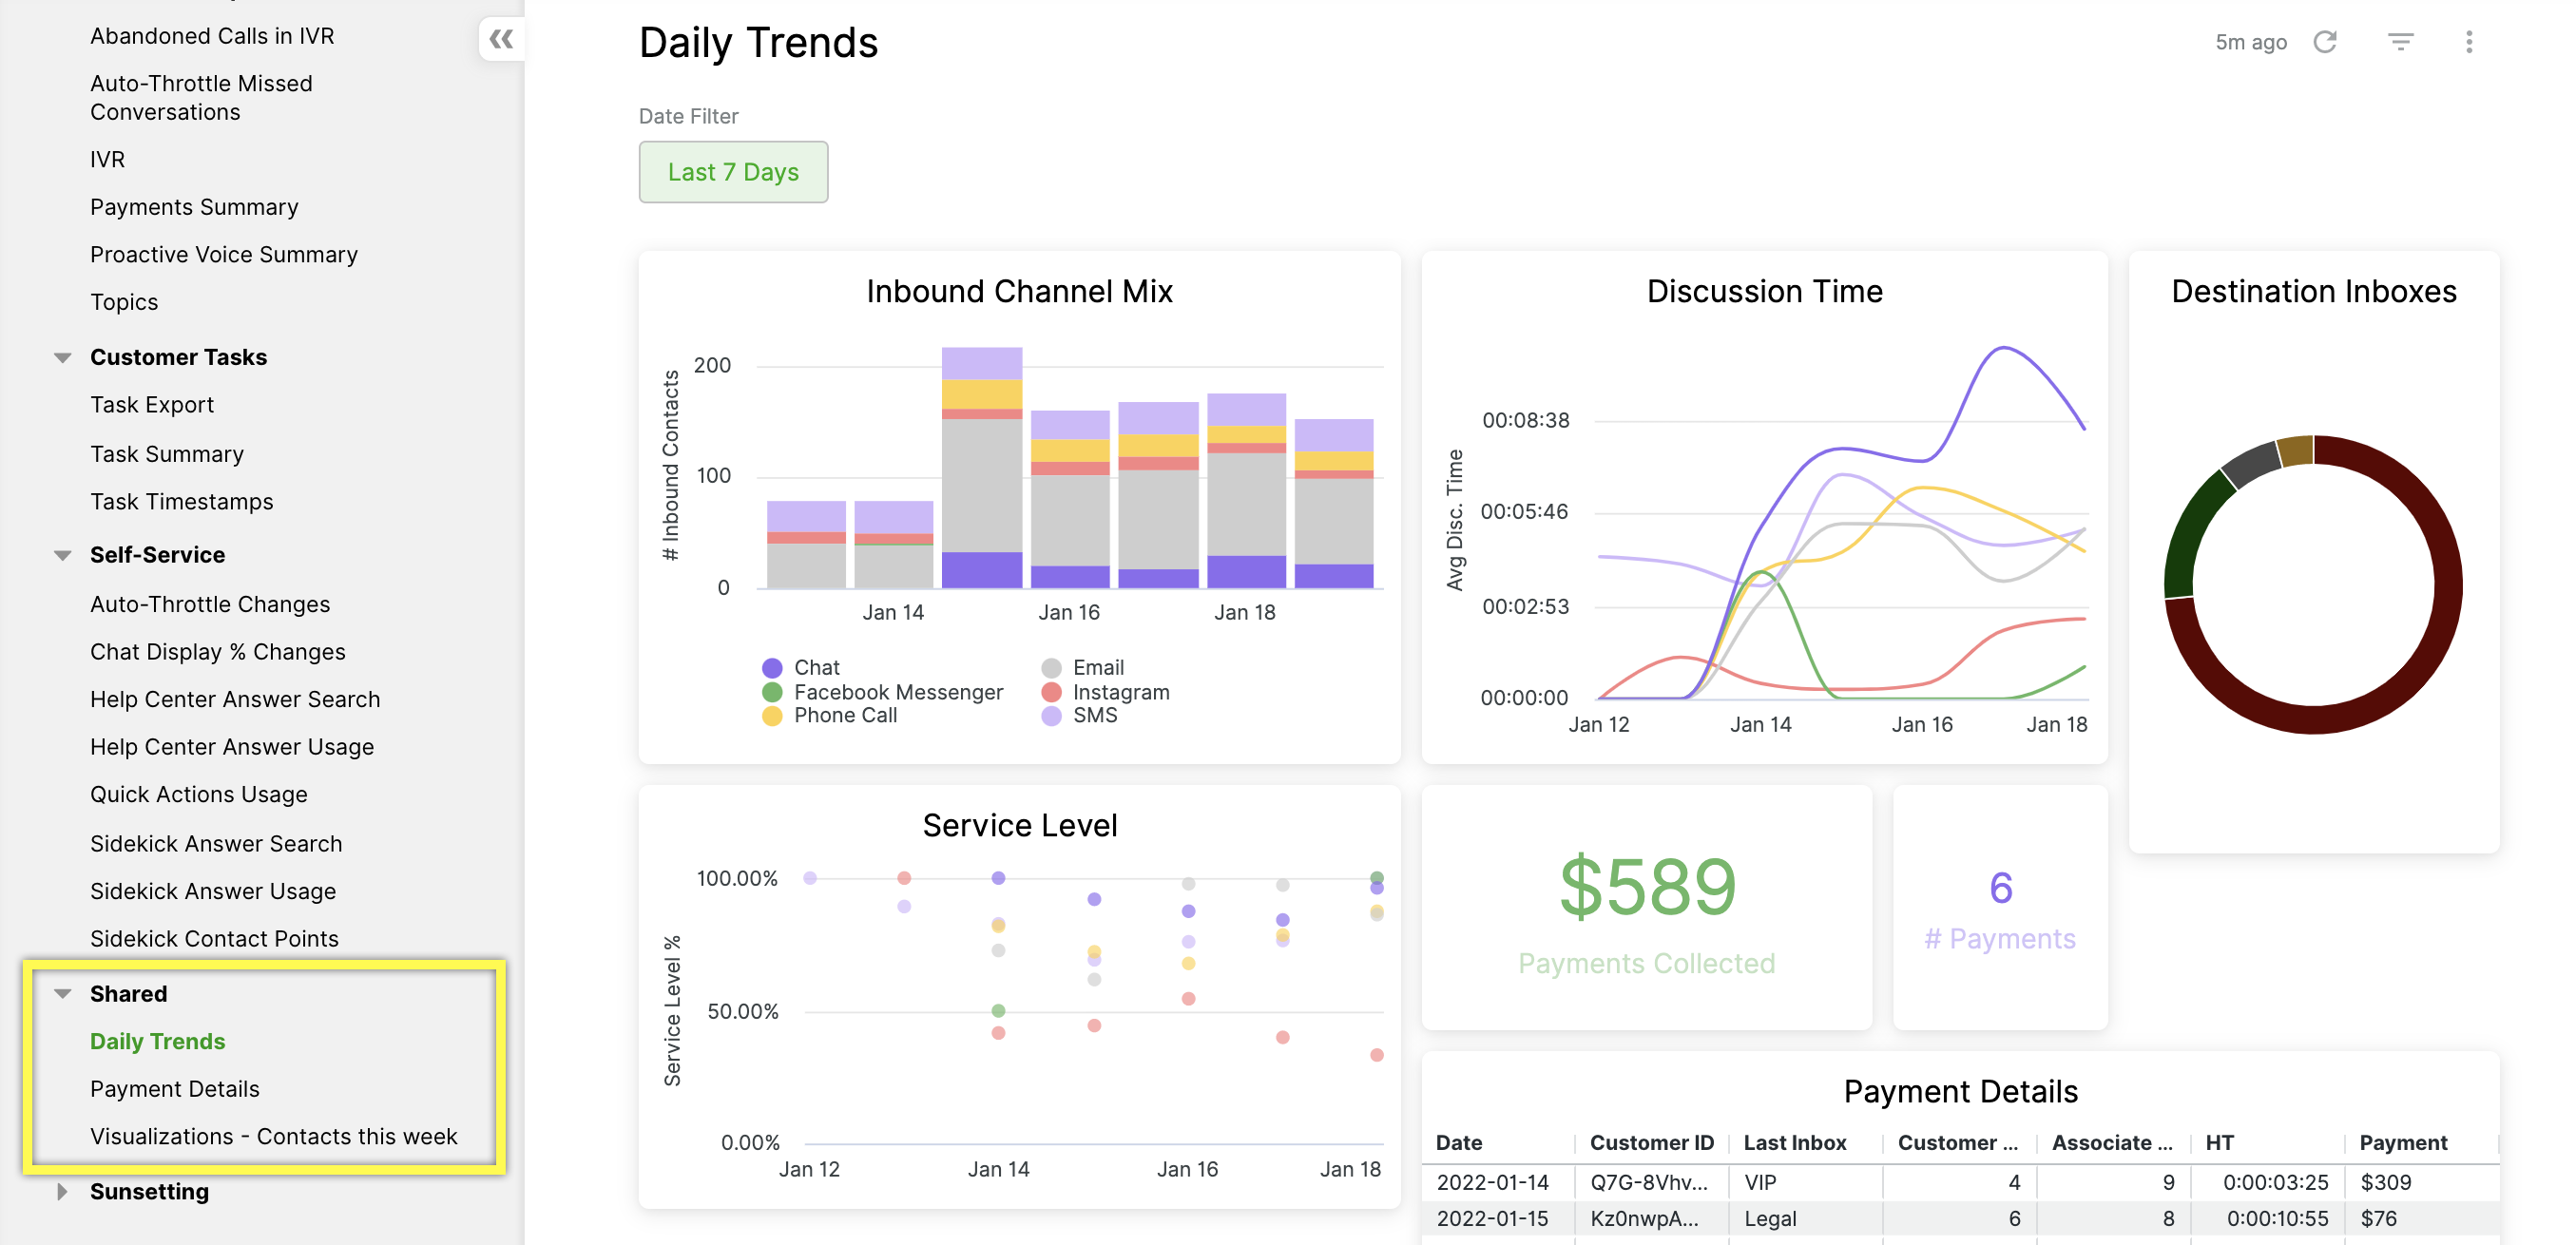
- To the right of the Builder, click the folder icon.
- Click the personal icon (single user icon), and click the personal dashboard where the report is saved.
- On the top right corner of the screen, clicknext to the folder icon, then click Edit Dashboard. This opens edit mode for all reports (tiles) in the personal dashboard.
- Hover over the report (tile) you want to edit, clickthen Edit. This opens the Builder experience for the report where you can make your changes.
- When you’re done making changes, click Run to run the report.
- Click Save.
Delete report #
Watch Out – Deleted reports can’t be restored #
Make sure you no longer need the report before you delete it.
Delete report from a dashboard #

- From the Reports page, click Create a Report and select any dataset.
- From the blank Builder, click the folder icon on the right side of the page. Select whether you need to delete a report in a shared or personal dashboard.
- Select the dashboard from the list of shared (My Folder) or personal (Group) dashboards.
- On the top right corner of the screen, clicknext to the folder icon, then click Edit dashboard.
- Find the report you want to delete. Hover over the report (tile), then clickthen Delete.
- Click Save.
Delete dashboard #
Remember that deleting a dashboard also deletes all reports stored in the dashboard.
- From the Reports page, click Create a Report and select any dataset.
- From the blank Builder, click the folder icon on the right side of the page. Select whether you need to delete a shared or personal dashboard.
- Select the dashboard from the list of shared (My Folder) or personal (Group) dashboards.
- On the top right corner of the screen, clicknext to the folder icon, then click Move to trash.
- You’ll be asked to confirm your request. Click Move to trash to confirm.
Deleted dashboards can’t be restored through the UI. Contact Gladly Support if you need to restore a dashboard you deleted.
Rename report or dashboard #
Rename report #
- From the Reports page, click Create a Report and select any dataset.
- From the blank Builder, click the folder icon on the right side of the page. Click My Folder or Group, depending on if the dashboard you want to rename is personal or shared, and select the dashboard from the list.
- Select the dashboard from the list of shared (My Folder) or personal (Group) dashboards.
- Clickon the right side of the page when the dashboard opens, then click Edit dashboard.
- Double-click the name of the report (tile) and enter a new name.
- Click Save.
Rename dashboard #
- From the Reports page, click Create a Report and select any dataset.
- From the blank Builder, click the folder icon on the right side of the page. Click My Folder or Group, depending on if the dashboard you want to rename is personal or shared, and select the dashboard from the list.
- On the top right corner of the screen, clicknext to the folder icon, then click Edit dashboard.
- Double-click the current dashboard name on the top left and enter a new name.
- Click Save.
Move report from personal to a shared dashboard #
There are two ways to move reports between personal and shared dashboards and vice-versa.
Use the Move to feature (fastest)
You can also use the steps above to move reports from a shared to a personal dashboard. Start by selecting your shared dashboard instead.
Resave the report to a group dashboard
- From the Reports page, click Create a Report and select any dataset.
- From the blank Builder, click the folder icon on the right side of the page.
- From the blank Builder, click the folder icon on the right side of the page. Click My Folder or Group, depending on if the dashboard you want to update is personal (My Folder) or shared (Group), and select the dashboard from the list.
- From the report you want to edit, hover over the report (tile) and click, then click Explore from here. This opens the Builder experience for the report, where you can make your changes.
- Click the gear icon on the top right corner of the Builder, click Save, then click To an existing dashboard.
- Click Group.
- Click the group dashboard (shared) that you want to save the report to.
- Click Save to Dashboard.
The steps above can be done to move reports in a shared dashboard to a personal one by clicking Group on step 3, then saving the report to a personal dashboard.
You can also move reports from a shared to a personal dashboard using the steps above. Simply start by selecting your shared dashboard instead.
Resave the report to a group dashboard
- From the Reports page, click Create a Report and select any dataset)
- From the blank Builder, click the folder icon on the right side of the page.
- From the blank Builder, click the folder icon on the right side of the page. Click My Folder or Group, depending on if the dashboard you want to update is personal (My Folder) or shared (Group), and select the dashboard from the list.
- From the report you want to edit, hover over it (tile) and click, then click Explore from here. This opens the Builder experience for the report, where you can make changes.
- Click the gear icon on the top right corner of the Builder, click Save, then click To an existing dashboard.
- Click Group.
- Click the group dashboard (shared) that you want to save the report to.
- Click Save to Dashboard.
The steps above can be done to move reports in a shared dashboard to a personal one by clicking Group on step 3, then saving the report to a personal dashboard.