Note – Shopify Actions must be active
Shopify Actions must be active to use any Actions feature or see additional Shopify order data in the Customer Profile.
Shopify Actions brings multiple types of information and order actions into Gladly, saving Agents time by allowing them to manage or edit order details without needing to go to Shopify.
Shipping address information #
View a Customer’s shipping information as shown in their order on Shopify.
| Order Card | Shopify |
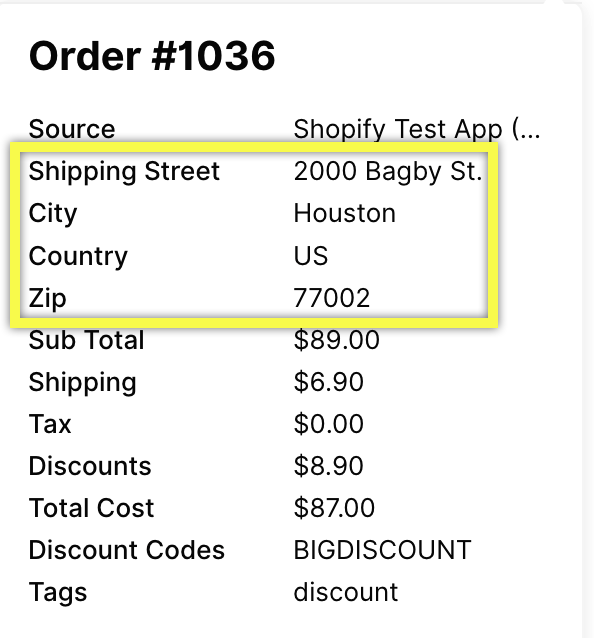 | 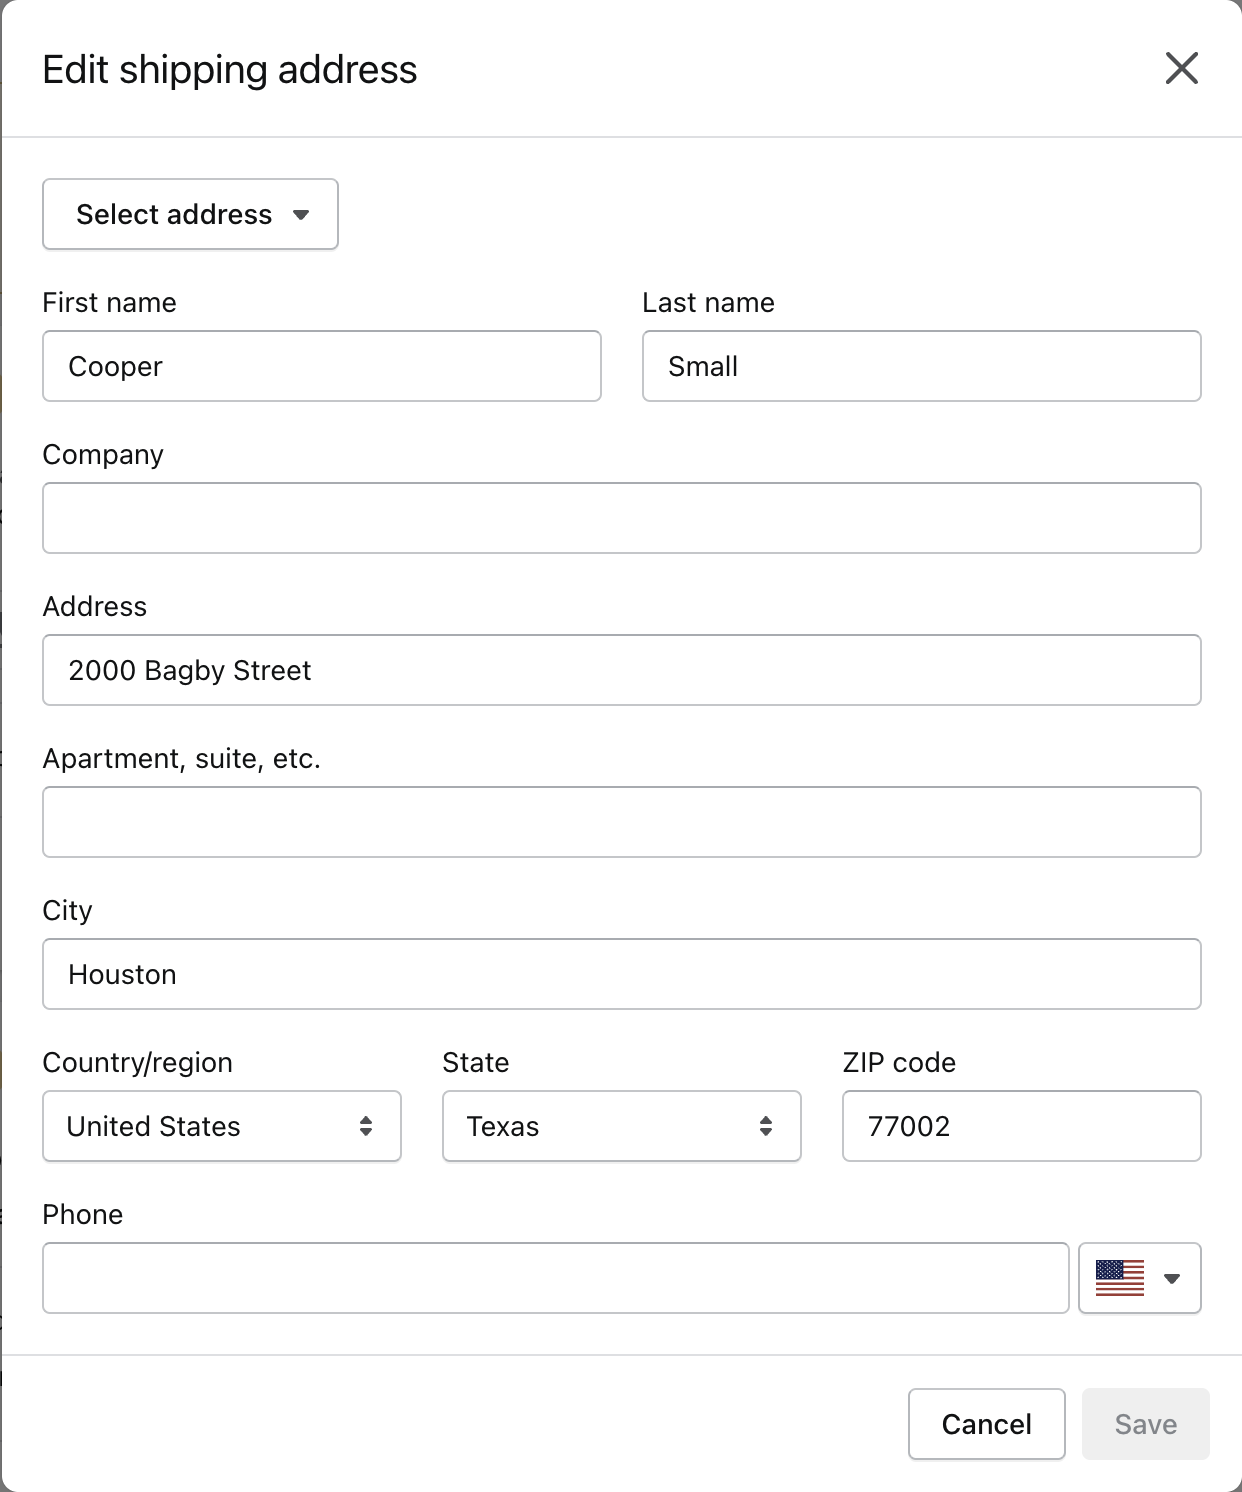 |
- Shipping Street – Shipment address
- Shipping Street 2 – This field dynamically appears if there is an APT, UNIT, or SUITE associated with the address
- City – Shipping city
- Country – Shipping country
- Zip –Shipping zip code
Total cost breakdown #
While the Total Cost field displays the order total, the order card also displays cost factors that add up to the total cost of the order.
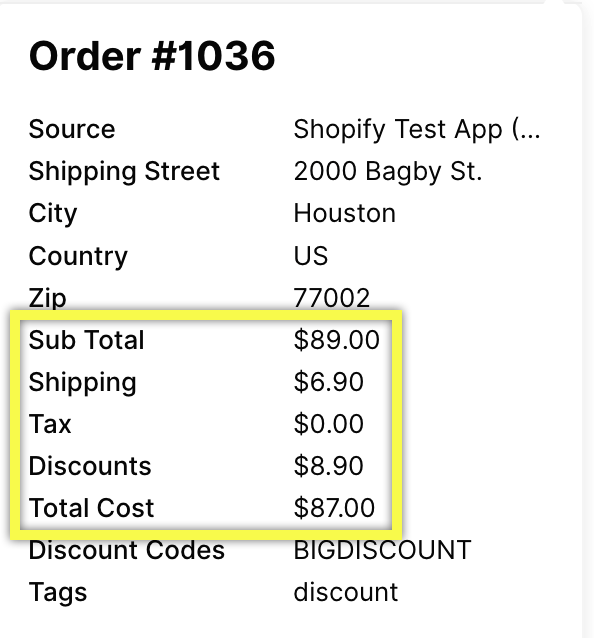
- Sub Total – Order total before taxes
- Shipping – Shipping charge (if any)
- Tax – Tax (if any)
- Discounts – Discount total (if a discount code(s) is applied)
- Tips – Available on certain Shopify plans, Tips could also appear on the order card if available with the order in Shopify.
- Total Cost – Total cost of the order, including shipping, tax, tip (if available), and discount.
Discount codes #
Displays discount code(s) used with the order.
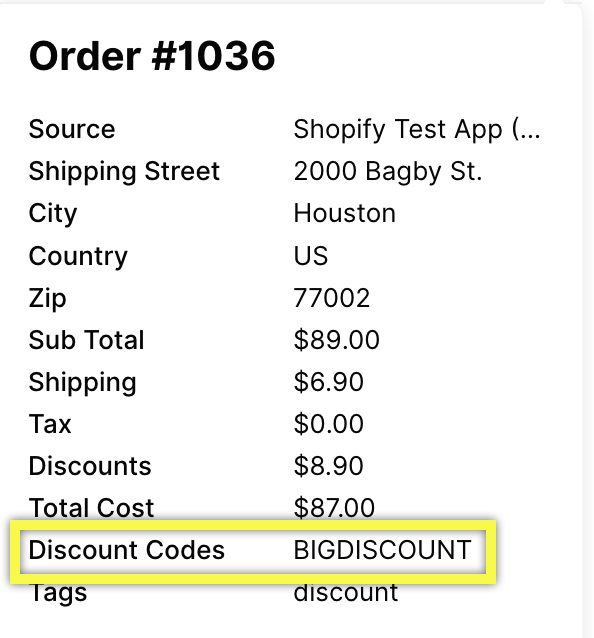
Discount codes created in Gladly and used by the Customer appear on this field.
The Discount Codes field only appears if there’s a discount code associated with the order.
Order Tags #
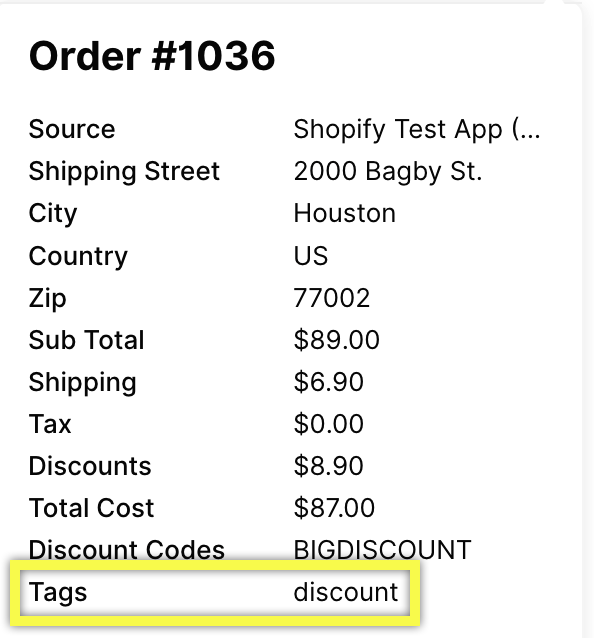
Tags are commonly used to group, search, filter, or make bulk order changes in Shopify. Tags added to orders appear on the Tags field.
The Tags field only appears if at least one tag is associated with the order.
Add Tags #
You can add tags (one or multiple) without leaving Gladly. If no tag is associated with the order, the Add Tags button appears.
- From the order in question, click Add Tags.

- Enter the tags you’d like to attach to the order from the Add Order Tags screen.

- Separate tags by commas if adding more than one (e.g., VIP, High Value).
- Tags can have two words separated with a space (e.g., High Value).
- Click Add Order Tags. This immediately creates and adds the tag(s) to the order.
The Conversation Timeline reflects the request and shows the newly added tag.
Edit Tags #
You can quickly edit tags associated with an order. The Edit Tags button appears if at least one tag is associated with the order.
- From the order in question, click Edit Tags.
- From the Edit Order Tags screen, edit the tags currently associated with the order. You can replace the existing tag or add more.
- Separate tags by commas if adding more than one (e.g., VIP, High Value).
- Tags can have two words separated with a space (e.g., High Value).
- Click Edit Order Tags to save.
The Conversation Timeline reflects the request and the updated order tag.
Delete Tags #
Delete tags you no longer want to be associated with an order.
- From the order in question, click Edit Tags.
- From the Edit Order Tags screen, check the Remove current orders tags? checkbox.
- Tags currently associated with the order appear inside the parenthesis.

- Tags currently associated with the order appear inside the parenthesis.
- Click Edit Order Tags to save.
Financial Status #
Financial Status displays an order’s payment status.
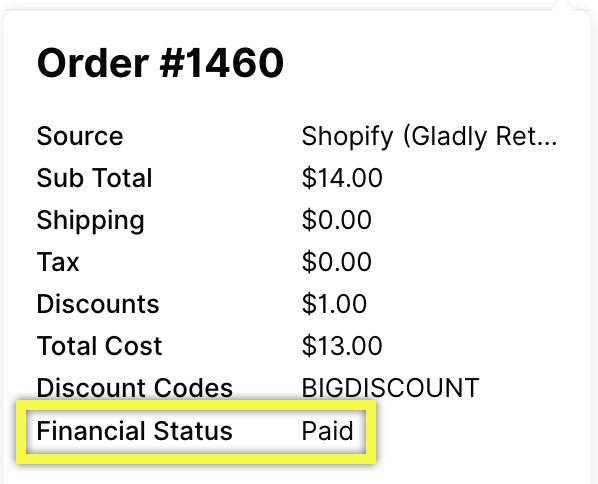
- Paid
- Refunded
- Partially Refunded
- + more.
See Shopify Payment Status for a complete list of statuses and descriptions.


