| REQUIRED USER ROLE Administrator |
Users are typically assigned their role(s) when they are initially invited to use Gladly. Users can have multiple roles assigned to them, which provide elevated access and permissions. For example, an Agent can also be assigned the following roles:
Agent + Agent Plus + Answer Administrator + Administrator + API User + Team Manager
The role with the highest permission set supersedes roles with the lowest permissions set. For example, if you have an Agent + Administrator role assigned to a user, they’ll also have access to the Administrator permission set.
See Roles and Responsibilities for an explanation of permissions available for each role.
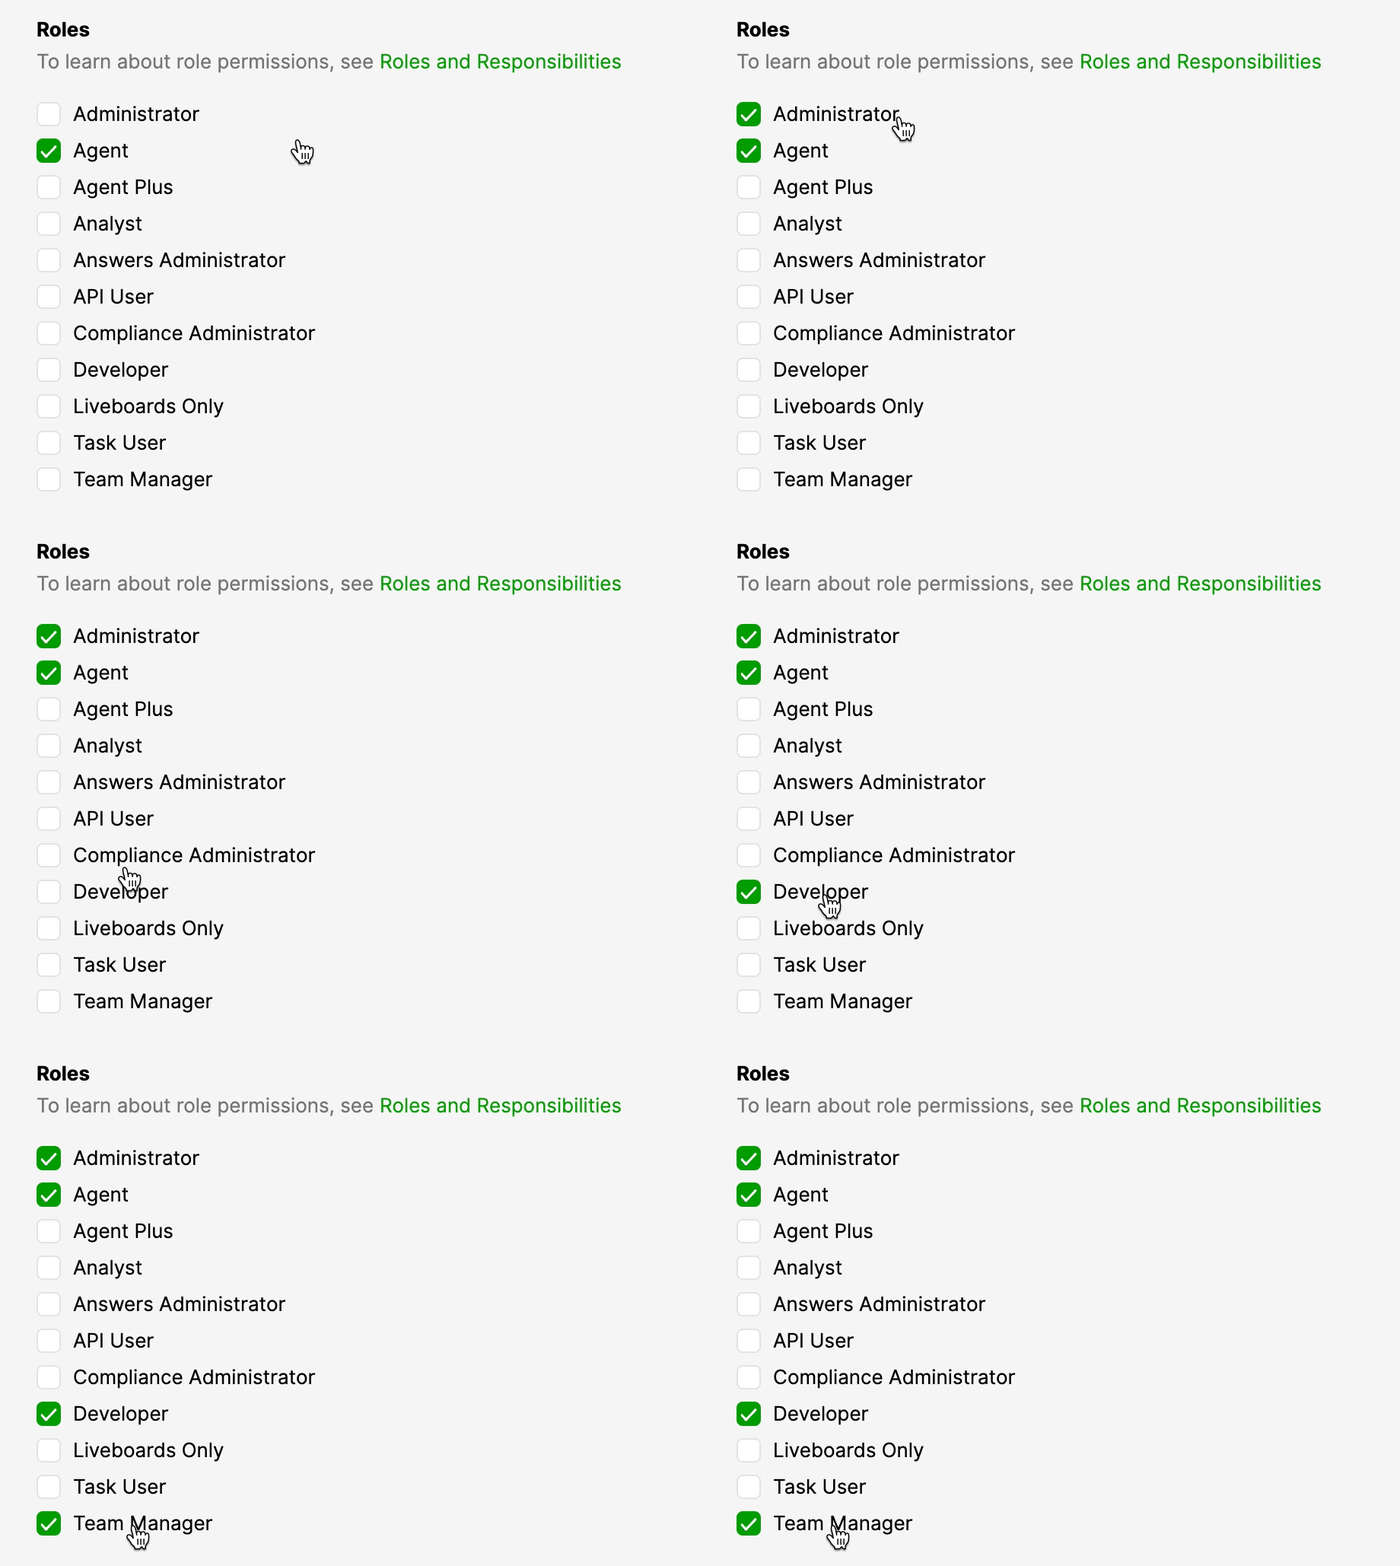
Combine multiple Roles #
While most roles can be combined with others to enhance permissions and access, there are limitations to which ones you can combine. For example, a Liveboards Only and Task Users user can’t be combined with other roles.

The role is automatically unchecked if the combination selected is not allowed.
Edit a user role and details #
- Click
on the top left corner of the screen.
- Click Settings.
- Under the People category, click Users. The Users page will show you a list of all your Gladly users. For ease, you can also preview the roles assigned to users, the Teams they belong to, the number of Inboxes they belong to, and their account status.
- Use the search feature to find users by name, email, or role quickly.
- Click the header name to sort the Name, Email, Roles, Teams, Inboxes, and Status columns.
- Hover over the user you want to edit, click
, then select Edit User.
- Proceed to edit any of the following fields:
- Email – Update the user’s email address.
- Name – Update the user’s full name.
- Status – Mark the user as Active or Inactive. This option only appears for existing users.
- Marking a user as Deactivated deactivates their account.
- Roles – Check/uncheck the box next to the role(s) that apply to this user. If an incompatible combination of roles is selected, the affected roles are automatically unchecked.
- Inboxes – Assign/unassign Inbox(es) to the user. Use the search feature to search all of your available Inboxes.
- Every Inbox the user is assigned to appears below the search bar. To unassign an Inbox, click X.

- An Inbox that has since been deactivated Inbox but is still assigned to an Agent appears as Inbox Name (deactivated).

- Every Inbox the user is assigned to appears below the search bar. To unassign an Inbox, click X.
- Teams – Assign the user to a Team(s).
- Every Team the user is assigned to appears below the search bar. To unassign a Team, click X.
- Skills – Assign relevant skill(s) to the user to be used with People Match.
- Every skill the user is assigned appears below the search bar. To unassign a skill, click X.
- See What is Skills to learn more about Skills and how it’s used to enhance People Match.
- Click Save.
Filter users by status #
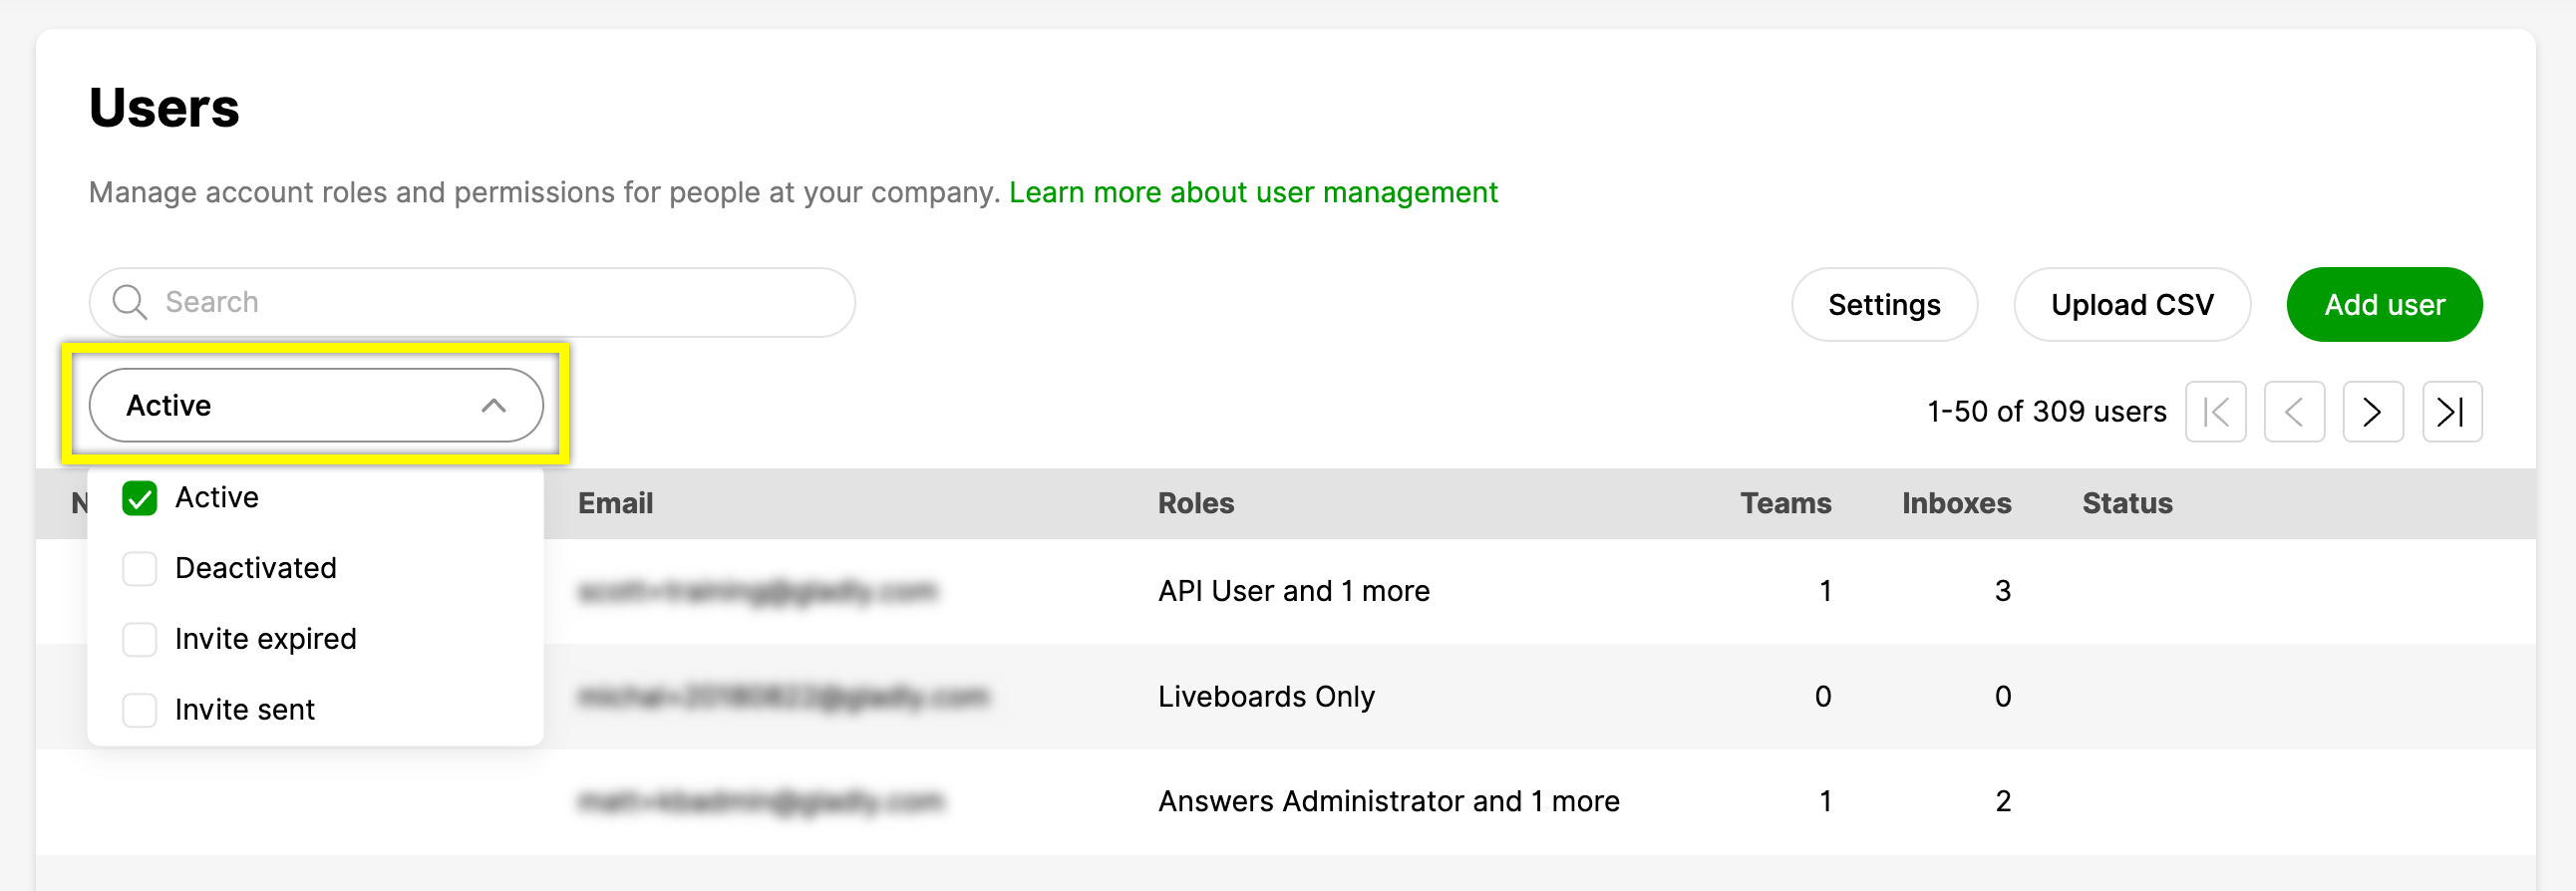
Find users by status using the filter feature. A user can carry one of the following statuses.

- Active – The user is active in Gladly. The Status column is blank for active users.
- Deactivated – Accounts that were previously active but are currently inactive. You can activate/deactivate user accounts as needed.
- Invite Expired – Invited users that never accepted the invitation. Resending the invitation changes the status to Invite sent.
- Invite Sent – Users who received an invitation but have yet to accept and confirm their account.


