REQUIRED USER ROLE
Administrators, Team Managers, Answers Administrator
Edit Sections that organize Public Answers in your Help Center. You can change the number of columns, help text, language, and other related settings.
Before you start #
- Editing a Help Center may change the way your Help Center looks to your Customer. For example, if you have three columns configured and styled your Help Center to accommodate three columns, changing the columns to two will affect the Help Center’s overall look.
- A new embed code is not generated when editing a Help Center and saving changes. Changes are automatically reflected on your website.
- From the Help Center page, hover over the Help Center you want to edit, click
 , and select Edit Help Center.
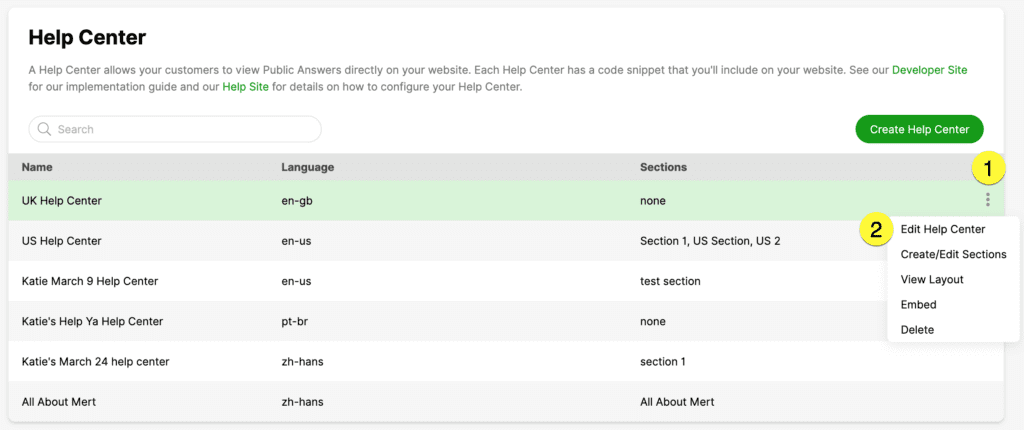
2. Complete your changes on the Edit Help Center page:
- Name – Enter a name that helps you identify the Help Center. The name will not be displayed on the Help Center itself. (e.g., US Help Center, AU Help Center, etc.)
- Language – Select the language for the Help Center. Each Help Center supports one language.
- # of Columns – Select the number of columns (three max) to display your Public Answers.
- # of Preview Answers – Enter the number of Answers you want to appear in each Section of your Help Center. For example, if you have six Answers, you can show the first four, and the Customer clicks on “See More” to see all six Answers.
- Search Placeholder – Enter a placeholder help text for the search bar (e.g., How can we help?).
- Sections Heading – Enter the header name for a Section or a group of Sections.
- Search Results Header – Enter the text to display above the search results on the results page. You can use the wildcard “%q” to display the Customer’s specific search term. For example, if you write here, “View %q results,” and a Customer enters “socks,” the Customer sees “View socks results.”
- Back Link Text – Enter the text you want to use to “go back” to a previous page when a Customer views an Answer.
3. Click Save.
Delete a Help Center #
You can delete a Help Center that you are no longer using. But before you continue, you need to be aware of a few things:
- Once a Help Center is deleted, it cannot be restored.
- Deleting a Help Center will remove your FAQs and other relevant information from Public view.
- Deleting a Help Center could affect SEO.
- From the Help Center page, hover over the Help Center you want to edit, click, and select Delete.
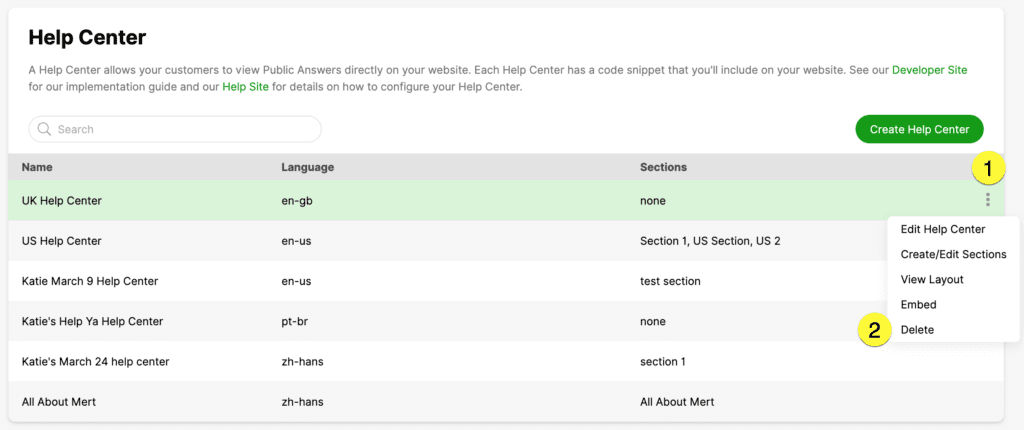
2. From the deletion confirmation screen, click Delete Help Center.
Edit and Delete Sections #
Edit a Section #
You can edit Sections to add or remove Public Answers from each Section. But before you continue, you need to be aware of a few things:
- The update will automatically be reflected on your website if you edit a Section.
- You can’t have duplicate section names. You will receive an error indicating that the section name already exists.
- You can’t duplicate Answer IDs. You will get an error if the system detects a duplicate Answer ID for the Section.
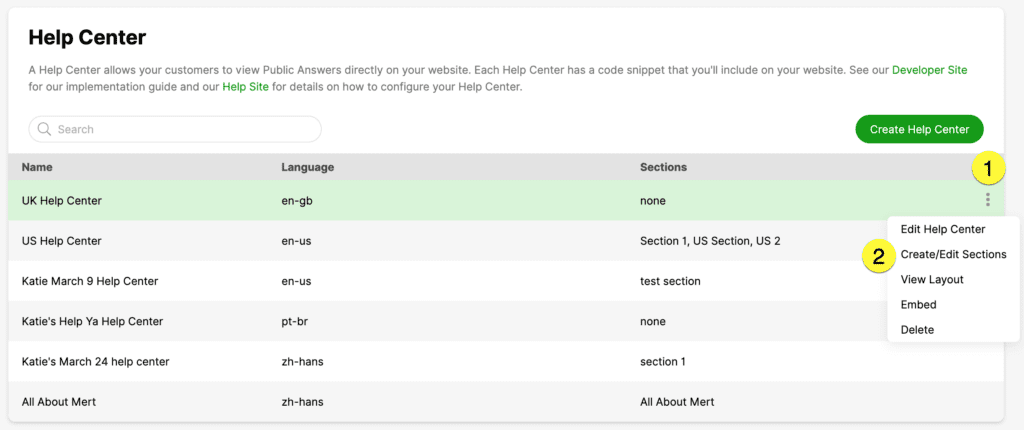
- From the Help Center page, hover over the Help Center you want to edit, click, and select Create/Edit Sections.
2. From the Sections list, hover your mouse over the Section you want to edit, then click ![]() .
.
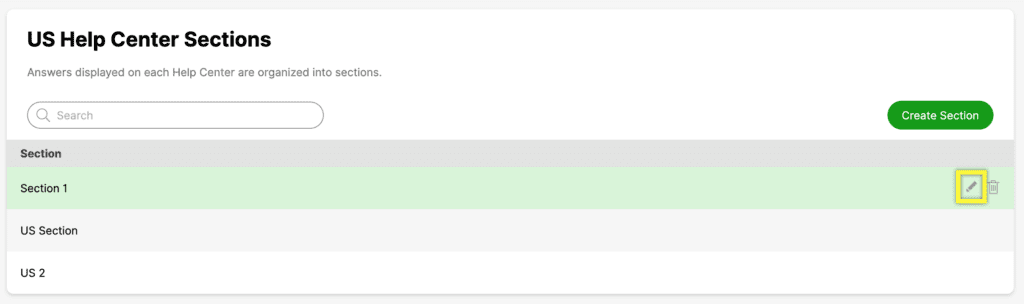
3. Edit the Section Name or add/remove Answers from the Section. Click Save when you’re done.
Sort Sections #
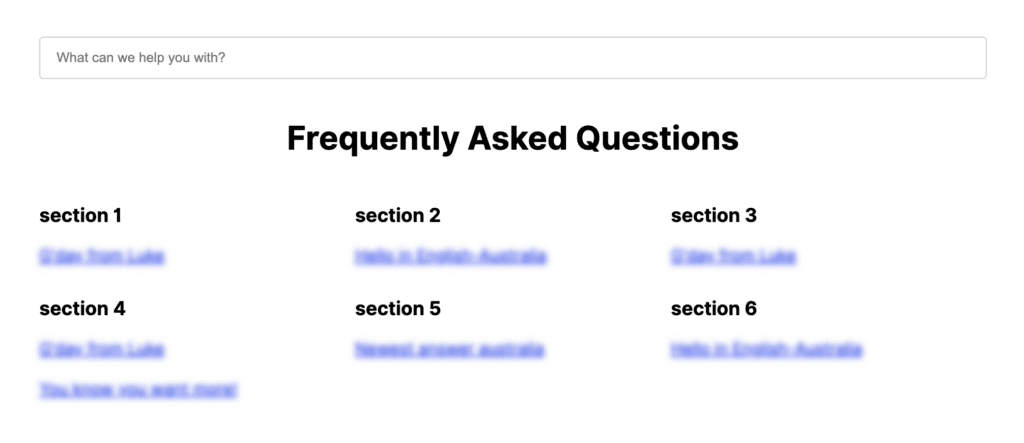
The number you selected for the # of Columns setting affects how Sections are organized in the Help Center. For example, if you select 3 (the max limit) and you have six Sections, then the Sections stack like the sample below, with Answers appearing below each Section.
You can change the Sections’ sort order by dragging and dropping each Section on the list. Sections are sorted from left to right in Help Center.
Click Preview Help Center Layout from the Section page to quickly see an unstyled preview of your Sections layout.
Delete a Section #
If you delete a section Gladly, it will immediately delete the same Section on your website. You will not be able to restore the Section you delete.
- From the Help Center page, hover your mouse over the Help Center you want to edit, click, and select Create/Edit Sections.
- From the Sections list, hover over the Section you want to delete, then click .
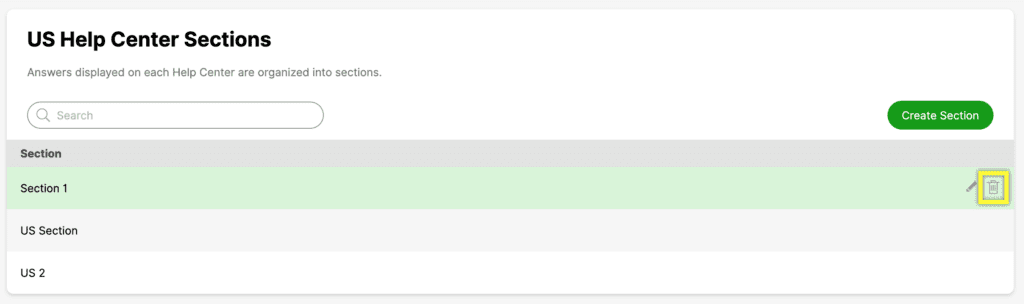
3. From the deletion confirmation screen, click Delete Section.