| REQUIRED USER ROLE Administrator, API User |
Before you start #
Review the following information before you connect Playvox to Gladly.
- Make sure you have elevated access to your Playvox account to link Gladly.
Connect with your Playvox implementation specialist #
At the start of your engagement with Playvox, you will typically be assigned an implementation specialist to guide you in setup and best practices. This process is usually described and scheduled during the Sales cycle with a Playvox representative.
An implementation of Playvox’s WFM product typically takes eight weeks to complete and includes activities like:
- Setting up the base of the Gladly x Playvox integration.
- You working with Playvox’s implementation specialist to define Inboxes, SLA targets, and more.
- Playvox provides you with Admin, Schedule, and Agent training.
- Meeting on a weekly basis on Playvox implementation.
During this time, please utilize your Playvox implementation specialist as your designated/named support resource instead of contacting their support team! You will be introduced to the support process upon completion of your implementation.
Create API token #
Start by making sure you have a Gladly user account that has access to create API tokens. To learn how to create users with the API User permission, click here.
Once the user is created, create your API token and take note of the token created. You’ll need the token for the next step.
Set up Gladly in Playvox #
Do the following from the Playvox homepage.
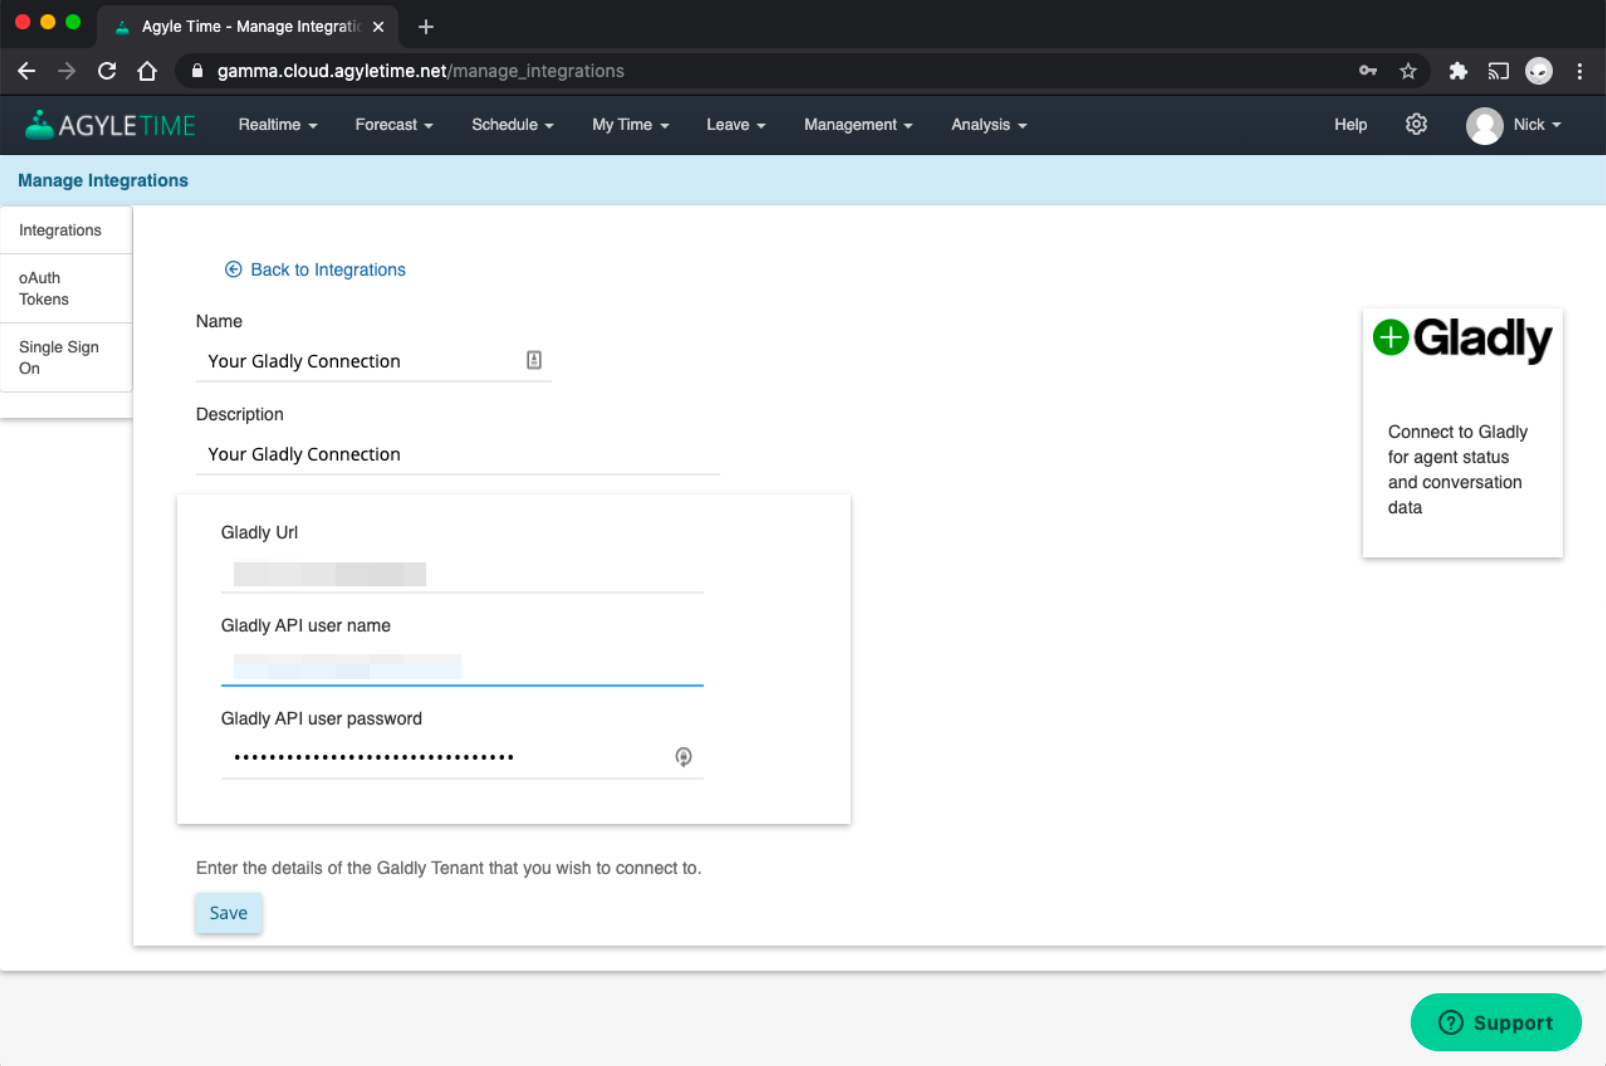
- Click Integrations.
- Click Gladly App.
- Complete the form details:

- Name – Enter a name to call the Gladly connector.
- Description – Enter a short description for the Gladly connector.
- Gladly URL – Enter Gladly domain (i.e., {YOUR-COMPANY}.gladly.com}
- Gladly API User Name – Enter the email address of the Gladly user account used to create the API token.
- Gladly API User Password – Enter the API token.
- Click Save. It will take a moment to complete and generate the option to submit. Once done, click OK.
Next, in order to complete the integration, you need to complete the setup of Tasks and Workstreams.
Set up Tasks and Workstreams #
Tasks #
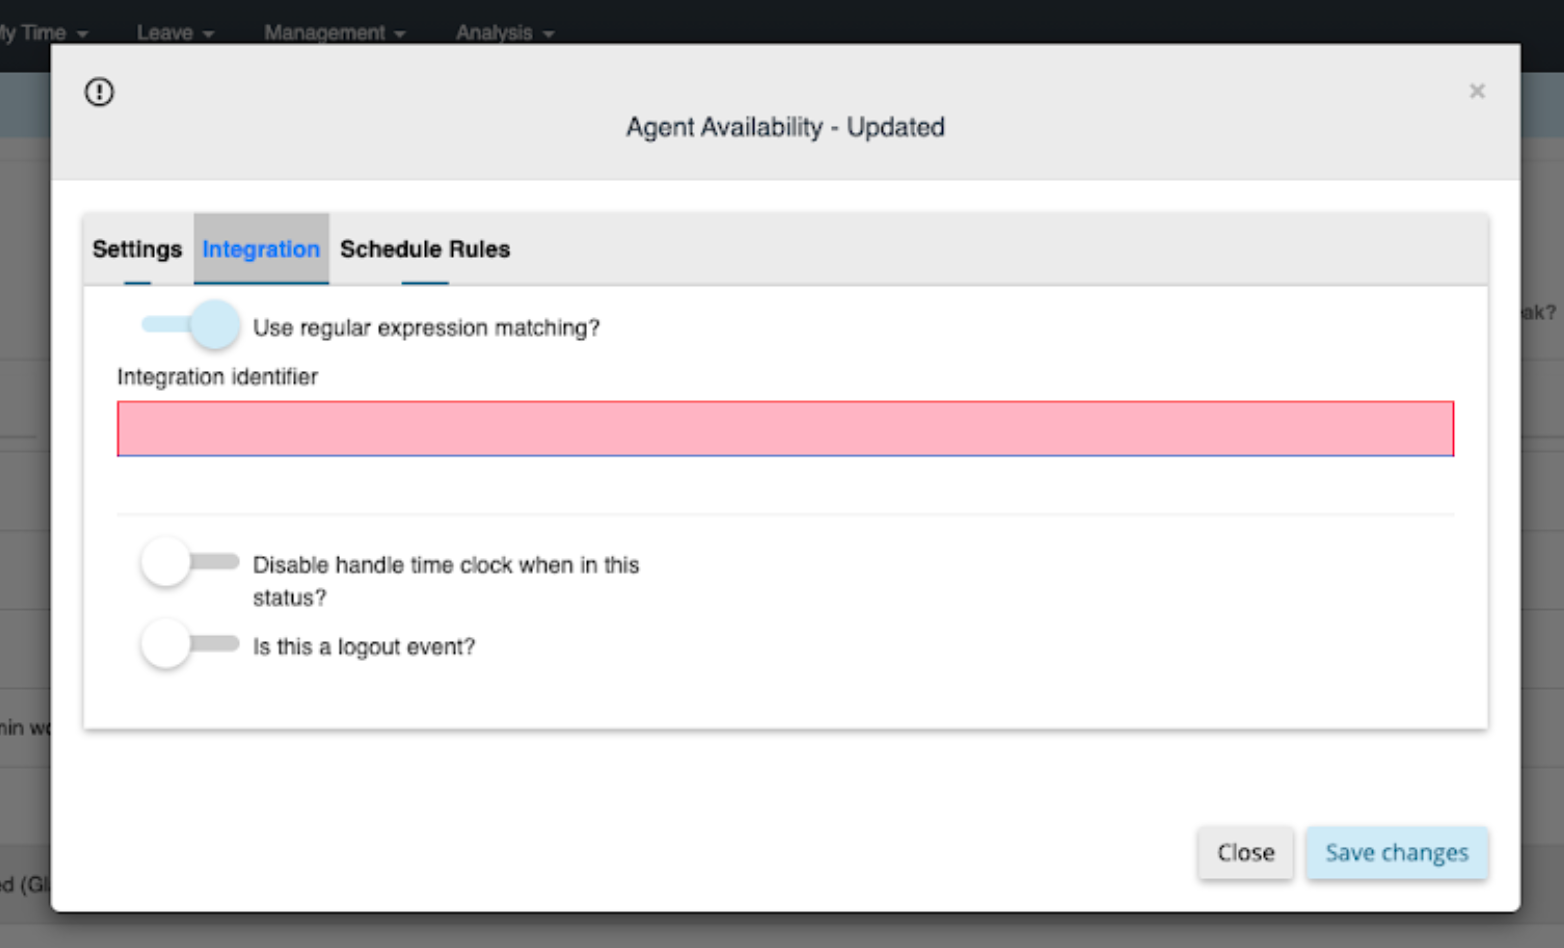
You can access it by going to Settings > Tasks > Add New.
Create a task definition for each of the first Agent Status updates, as per the below table. Additional configuration options (e.g., Category) will need to be set up as per your organization settings.

The below table is a sample of possible values:
| Agent Status Name | Integration Identifier (Regular Expression Matching) |
| Agent Status – Logged In | LOGGED_IN |
| Agent Status – Logged Out | LOGGED_OUT |
| Agent Status – Went Away | Break|Lunch|Meeting|Other|WENT_AWAY |
| Agent Status – Returned from Away | RETURNED_FROM_AWAY |
| Agent Status – Availability Updated | AvailableFor:.*|Unavailable |
Workstreams #
Workstreams is a combination of the Inbox ID and the Inbox Name.
The below table is an example:
| Inbox JSON Results | Integration Identifier (Regular Expression Matching) |
| { “id”: “BBWGXUw8R4W9EBT4oqfXXX”, “name”: “Customer_Support”, “disabled”: false } | BBWGXUw8R4W9EBT4oqfXXX|Customer_Support |
Once the Playvox integration has connected successfully, the following activities will occur in the background:
- A webhook will automatically be created in Gladly to send conversation (started/ended) events into Playvox.
- Users will start to sync into Playvox (based on matching emails).
- Agent status events will start to come through.
- Workstream data will start to come through.


