| REQUIRED USER ROLE Administrator |
Give callers the option to receive support through SMS/text instead of waiting for an Agent on the phone. This can be accomplished by adding an SMS node.
Before you start #
Before you create add SMS support in your IVR, we recommend that you first review the following:
- Your Voice number should support SMS. Phone numbers purchased through Gladly likely already support SMS.
- The phone number where you want to introduce SMS must be A2P 10DLC registered, or SMSes will tagged as spam. Do not proceed without completing this registration. Contact Gladly Support if you have completed registration for another phone number in Gladly.
- If the IVR is linked to multiple phone numbers, SMS support will also be available for those numbers.
How Voice to SMS works #
Provide callers with the option to transition to receiving assistance through SMS instead of waiting for an Agent. This option is commonly given to callers through a Menu node.
There are three nodes required to transition calls to SMS from the IVR:
- Menu
- SMS
- Message
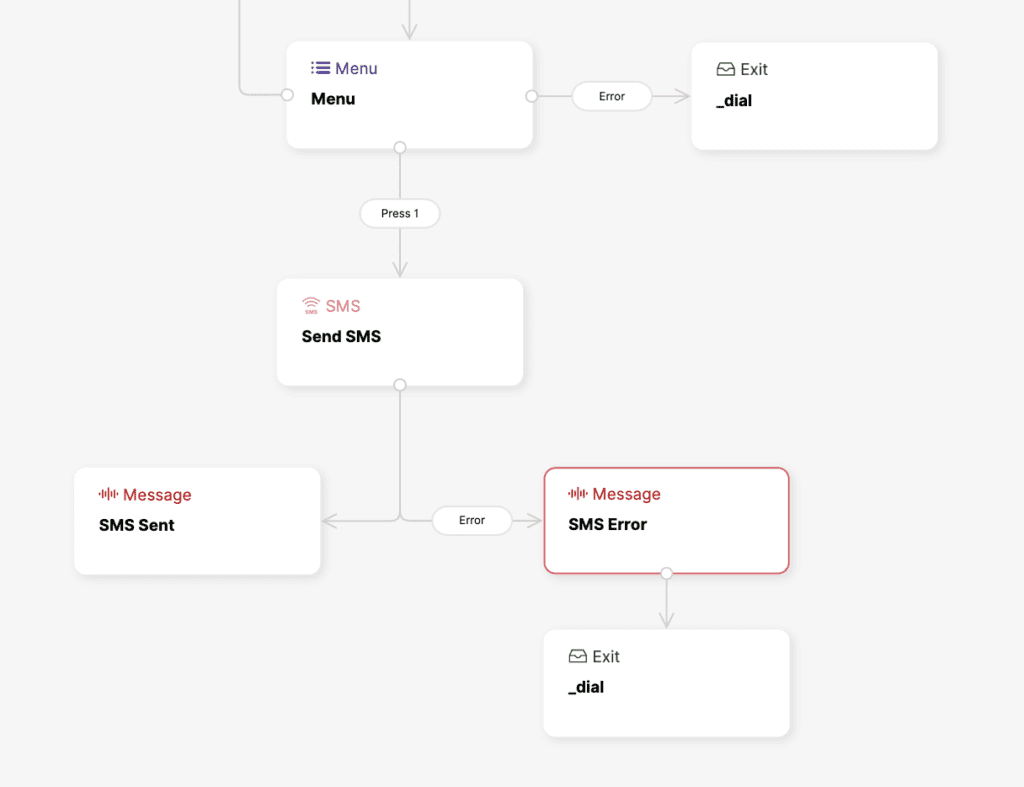
In the sample IVR above, the Menu node is configured to give callers the option to press “1” to receive a text instead, which moves the call to the SMS node. The SMS node automatically detects the caller’s number and sends an SMS that says, “Thanks for contacting us! How can we help? Reply STOP to stop”.
- If the SMS is successful, the call is moved to the Message (SMS Sent) node with a message that the text was sent successfully, and the call ends.
- If the SMS fails, the call is moved to the Message (SMS Error) node with a message that it’s unable to send a text and to wait for the next available Agent. The call is then moved to the Exit node, which queues the call in an Inbox.
Add SMS support in the IVR #
The process of adding SMS support to an existing IVR includes several steps. Follow the instructions below closely.
- Click
on the top left corner of the screen.
- Click Settings.
- Under the Channels category, click Voice.
- Find the number you’d like to add SMS support. Under the Initial IVR column, click the linked IVR to open the IVR in edit mode.
- Find the Menu node in the section of the IVR you want to give the option to receive support via SMS.
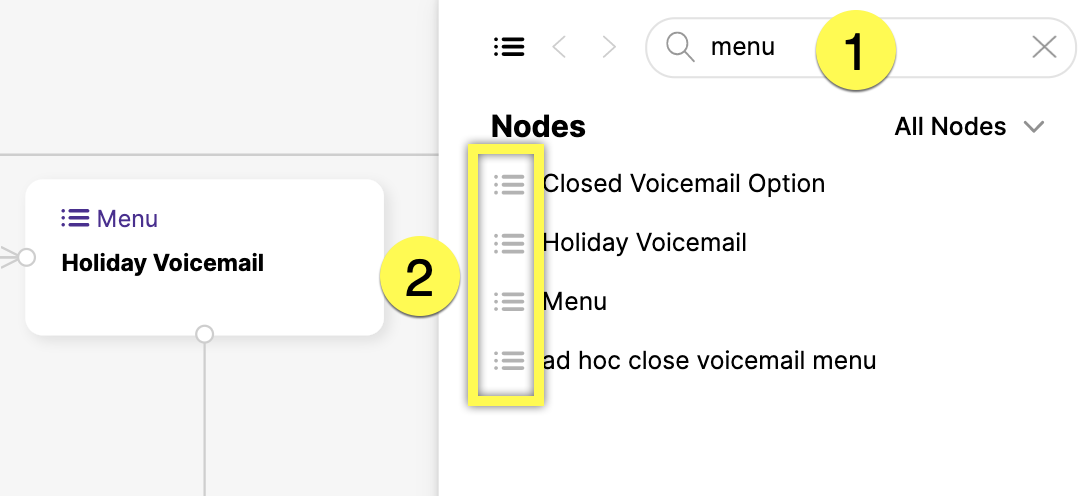
- Use the search feature on the top right corner and type “menu” to find all Menu nodes.

- Use the search feature on the top right corner and type “menu” to find all Menu nodes.
- Click the Menu node you want to update to include the SMS option. This will take you to the Menu node’s settings.
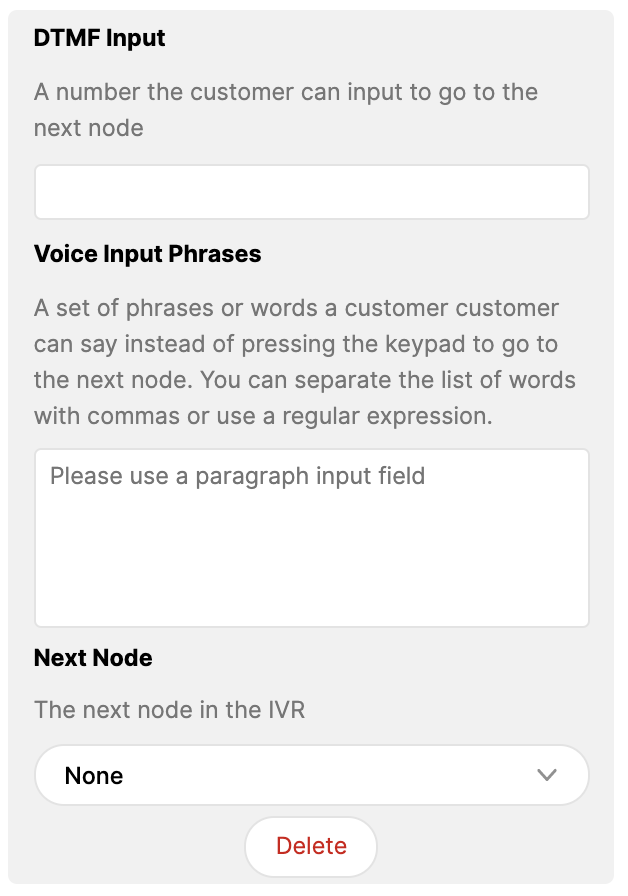
- Click Add Menu Item, which adds a blank DTMF and Voice input section.

- Under the Next Node section of the blank DTMF and Voice input section, click “None” to open the list, then scroll up and click Create New Node.
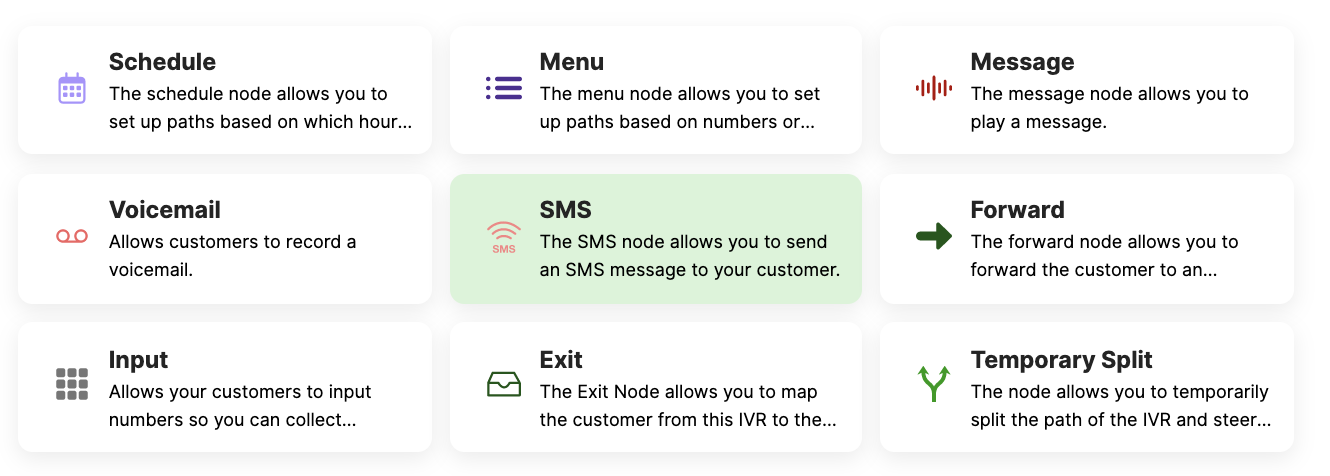
- From the node selection screen, click SMS.

- At this point, the new SMS node (named “New SMS”) is now linked to the Menu node.
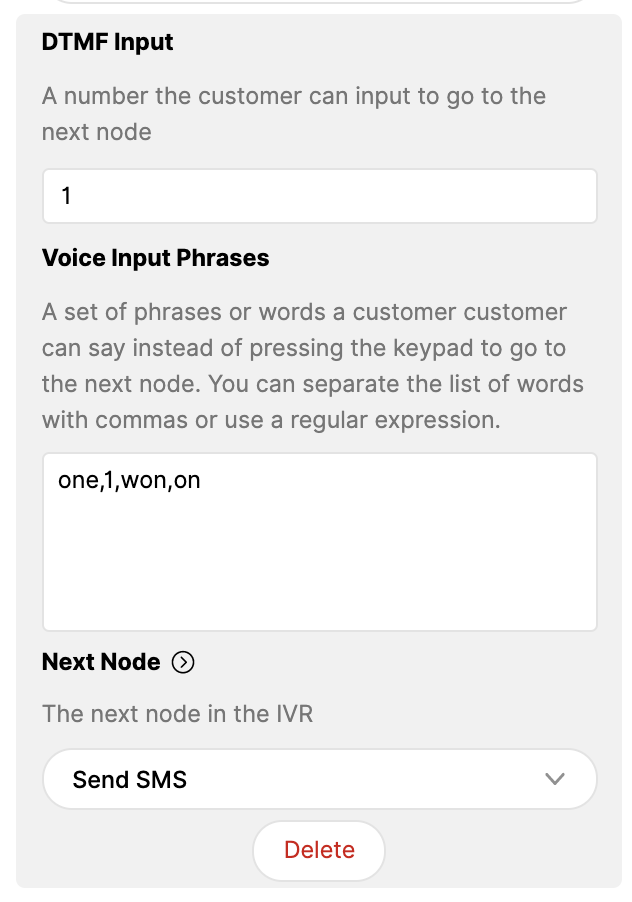
- Go back to the Menu node and find the blank DTMF and Voice input section.

- DTMF Input – Enter the number you want callers to press to receive a text. (e.g., 1)
- Voice Input Phrases – Allow callers to say (along with press) their selection. If DTMF is “1,” enter the phonetic pronunciation of the number 1 (e.g., won, one, on, wan) This is not required. Do note that the use of this feature incurs additional costs.
12. Scroll up the Menu node and find the Message option. Pick how you’d like your callers to hear the SMS option: Recording or Text to Speech.
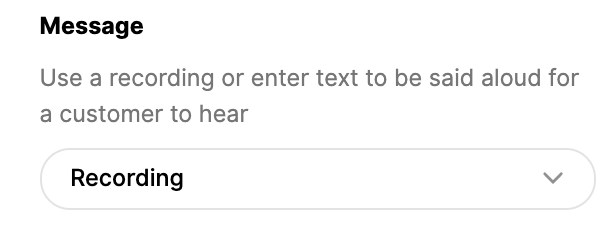
- Recording – If selected, click select recording to upload a message telling callers to press “1” to receive support via text. For example, you can say, “To text with us instead, press 1. Otherwise, stay on the line, and the next available Agent will help you shortly.”
- Text to Speech – If selected, enter your message in text form in the Text box. Under Voice, pick a voice option to transcribe the text electronically.
13. Go back to the SMS node (named “New SMS”) and complete the following fields:
- Name – Enter a new name for the node. We suggest “Send SMS” to easily identify how the node is used.
- Description – Enter a short description of the node.
- SMS Body – Enter the message a caller received if they choose to receive help via text. For example, you can use, “Thank you for contacting <COMPANY NAME>! What can we do for you? Reply STOP to stop messages”.
14. From the same SMS node, under the Next Node section, click “None” to open the list, then scroll up and click Create New Node.
15. From the node selection screen, click Message.
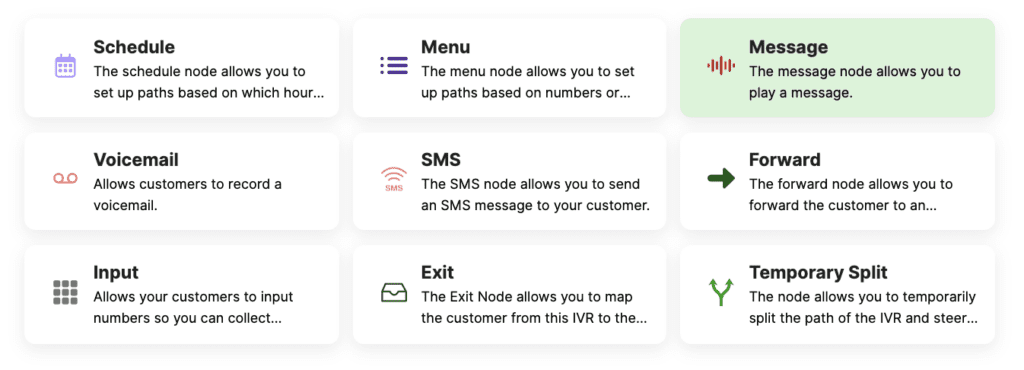
- This links the SMS node to a Message node to tell callers when a text message is successfully sent.
16. Scroll up the Message node and complete the following fields:
- Name – Enter a new name for the node. We suggest “SMS Sent” to easily identify how the node is used.
- Description – Enter a short description of the node.
17. In the same Message node, find the Message option. Pick how you’d like your callers to hear that their request to receive support via text is successful: Recording or Text to Speech.
- Recording – If selected, click select recording to upload a message. For example, you can say, “Text message sent! We look forward to assisting you.”
- Text to Speech – If selected, enter your message in text form in the Text box. For example, you can enter, “Text message sent! We look forward to assisting you.”Under Voice, pick a voice option used to transcribe the text electronically.
- Under Voice, pick a voice option used to transcribe the text electronically.
18. Go back to the SMS node (named “New SMS” unless you renamed it). Under the Error Node section, click “None” to open the list, then scroll up and click Create New Node.
19. From the node selection screen, click Message.
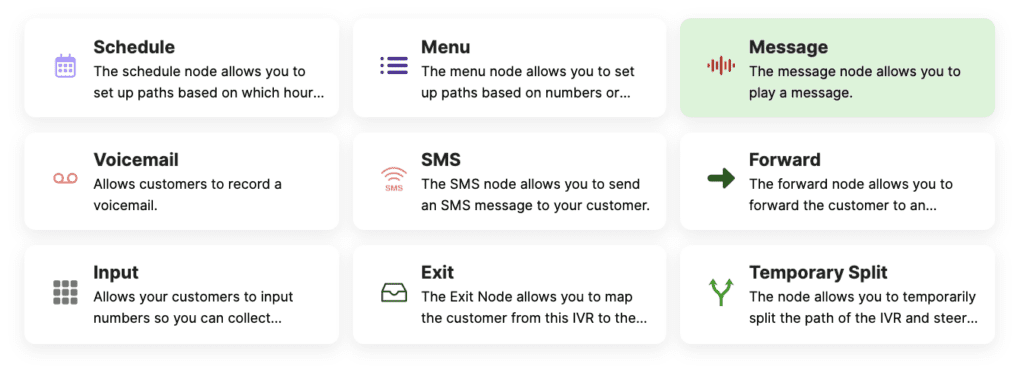
- This links the SMS node to a Message node, which tells callers when an error is encountered, and the text cannot be sent.
20. Scroll up the Message node and complete the following fields:
- Name – Enter a new name for the node. We suggest “SMS Error” to easily identify how the node is used.
- Description – Enter a short description of the node.
21. In the same Message node, find the Message option. Pick how you’d like your callers to hear that their request to receive support via text fails: Recording or Text to Speech.
- Recording – If selected, click select recording to upload a message. For example, you can say, “We’re sorry, we’re not able to send you a text. Stay on the line, and the next available Agent will help you shortly.”
- Text to Speech – If selected, enter your message in text form in the Text box. For example, you can enter, “We’re sorry, we’re not able to send you a text. Stay on the line, and the next available Agent will help you shortly.”
- Under Voice, pick a voice option used to transcribe the text electronically.
22. Return to the Message node (we suggested naming it “SMS Error”). Under the Next Node section, click “None” to open the list, then scroll up and click Create New Node.
23. From the node selection screen, click Exit. This node is used to identify the node in the Channel settings page so calls can be routed to a specified Inbox if SMS fails.
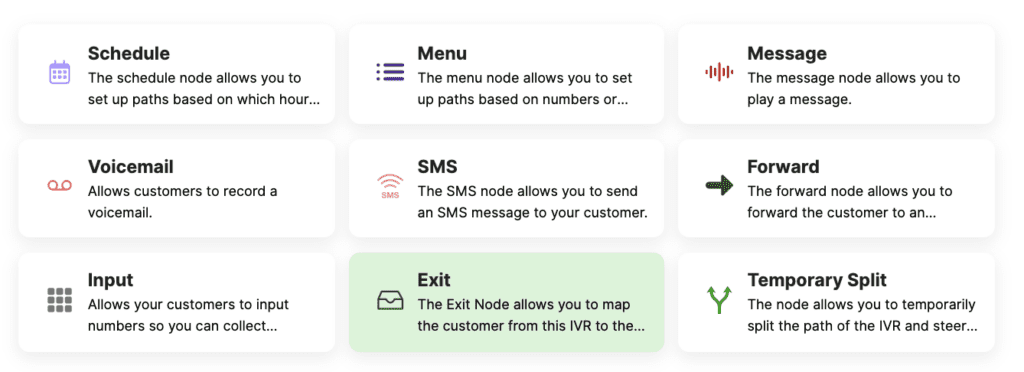
24. Scroll up the Exit node and complete the following fields:
- Name – Enter a name for the node to identify how the node is used easily. This name can’t be changed once saved.
- Description – Enter a short description of the node.
25. Click OK to save the Exit node.
26. Click Publish to save your update. Enter a short description of the updates you made, then click OK.
Link Exit node to the correct Inbox #
By default, the Exit node (step 23 from the previous section) routes calls to Voice’s Default Inbox if sending an SMS fails, but you can set up an exception by linking the Exit node to a different Voice Inbox if needed.
Test your IVR to confirm the functionality of your new SMS options.
Reports #
To learn how often Customers choose the option to receive support via SMS instead of speaking to an Agent, we suggest using the IVR End States report.


